This is part two of the polling SFTP server for CSV data and importing it to database blog post series. Follow part one to learn how to implement a local file system connection, write a Qscript to create interface directories in the Qorus user file system, Implement an SFTP connection and implement a schema module for interface tables.
In this blog post, you’ll learn how to create a mapper to map the data from the CSV file to the database, create a workflow to process the CSV file into the DB and create a polling job that polls the SFTP server every five minutes, transfers all CSV files to a local directory and handles duplicate file and file archiving.
5. Creating a mapper to map the data from the CSV file to the database
ℹ️ Note: Make sure you follow step four from part one of this blog post series and deploy a schema before creating a Mapper. This is necessary as the Mapper will require a DB table.
- Click on the Create new (new file) icon next to the Mapper interface from the interface hierarchy view.
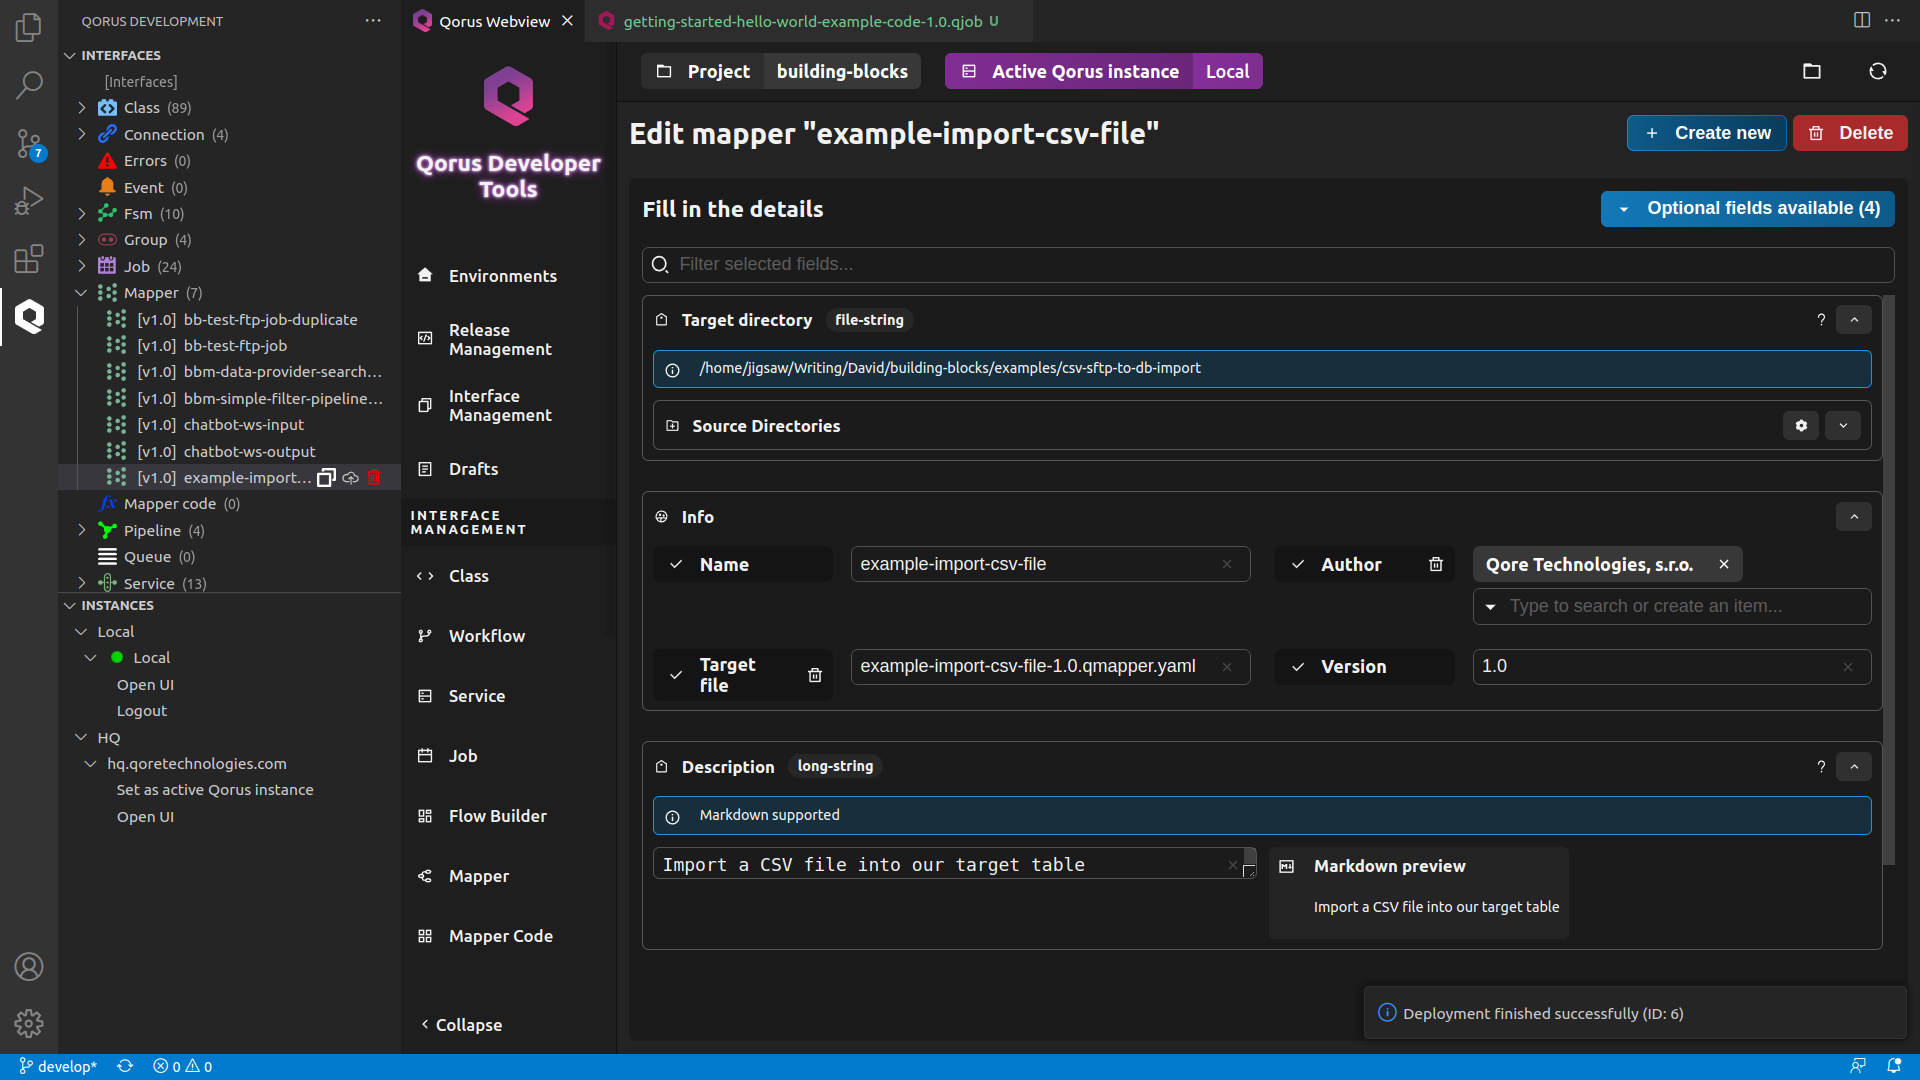
- In the Qorus Webview window, fill in the New mapper form with the following:
- Target Directory : Browse through the Show Directories field and select a source directory. This will be the directory where the code generated by the interface is stored.
- Name : example-import-csv-file This will be the name of our mapper.
- Description : Import a CSV file into our target table The description field supports markdown so, feel free to format your text in markdown.
- Version : 1.0
- You can set an optional Target file field to name the code file that will be saved in your Target Directory. From the Optional Fields drop-down list to the upper-right corner of the form, add the target_file field. Now, populate it with a filename – Target file : example-import-csv-file-1.0.qmapper.yaml
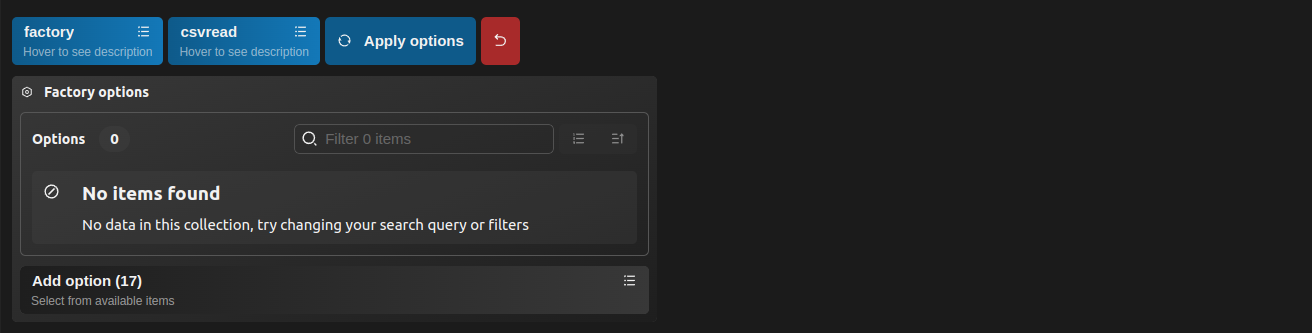
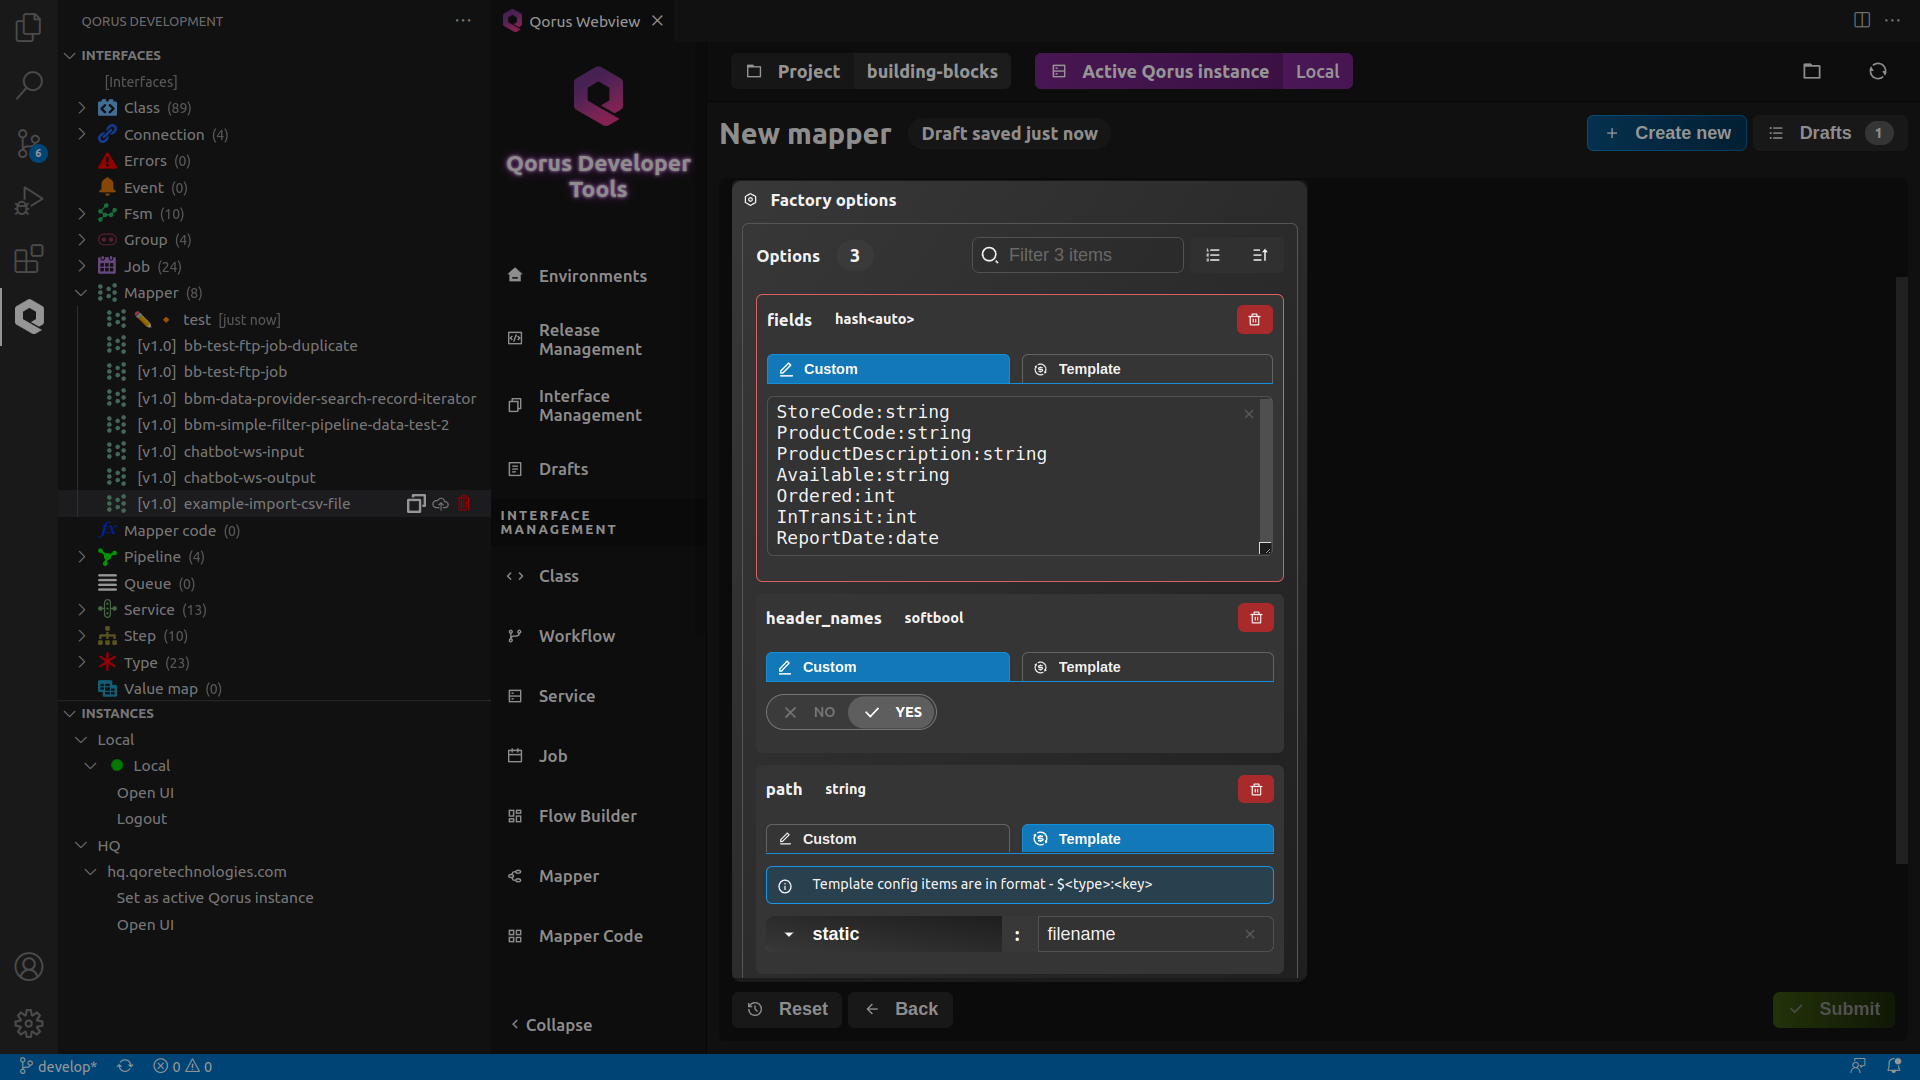
- Add the path option, then go to the Template tab and click on the dropdown labeled Please select. Select static from the dropdown and enter filename for the key.
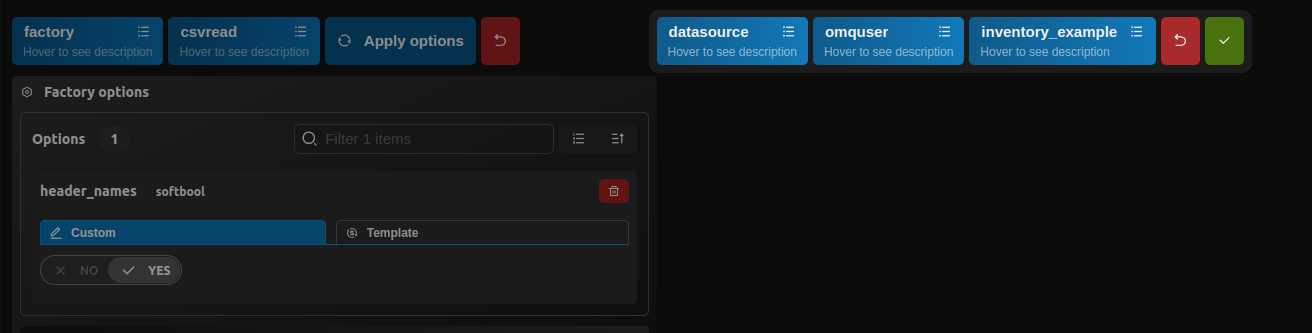
path : $static:filename. This will be the full path to the CSV. - Click on Add options and add the header_names option and set its value to true.
header_names : true - Add the fields option and enter the following in Custom tab. These values describe the input fields in the CSV
StoreCode: string
ProductCode: string
ProductDescription: string
Available: int
Ordered: int
InTransit: int
ReportDate: date
- StoreCode -> store_code
- ProductCode -> product_code
- ProductDescription -> product_desc
- Available -> available
- Ordered -> ordered
- InTransit -> in_transit
- ReportDate -> report_date
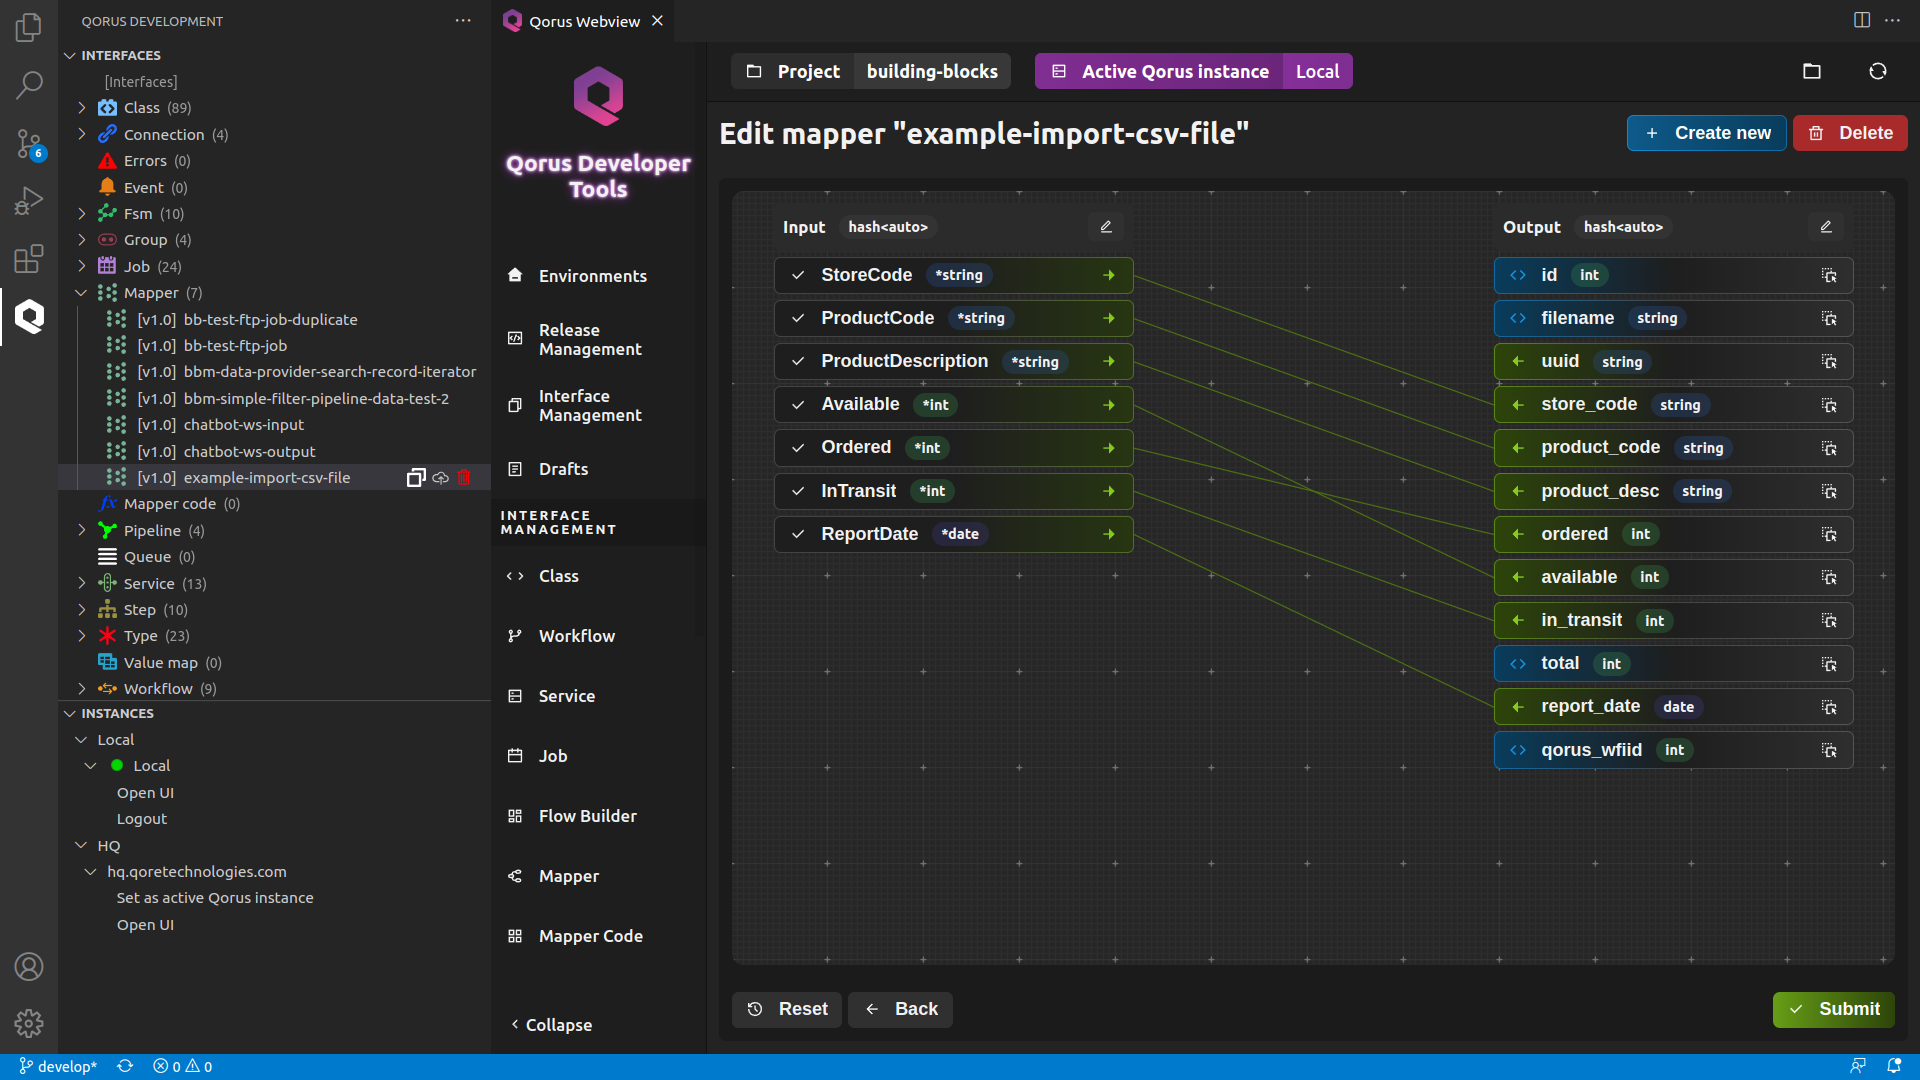
- id: ► Manage field mappings ► select sequence ► seq_inventory_example (the name of the sequence to be used to populate the field)
- filename: ► Manage field mappings ► select context ► $keys:filename (the workflow order key “filename” will be used to populate the field)
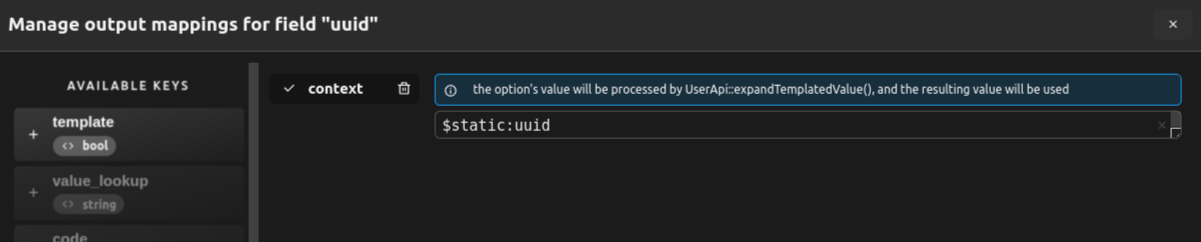
- uuid: ► Manage field mappings ► select context ► $static:uuid (the uuid key from workflow static data will be used to populate the field)
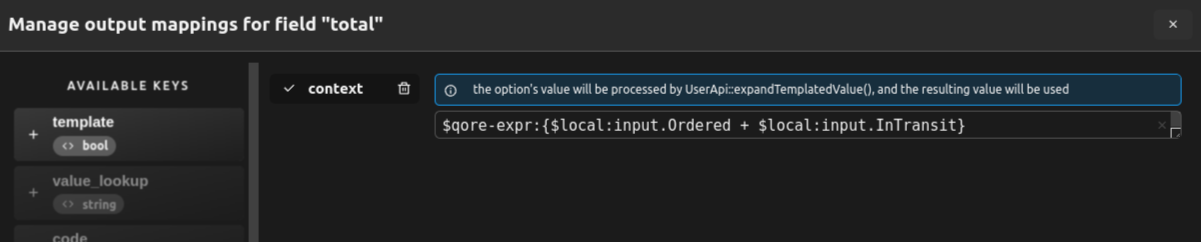
- total: ► Manage field mappings ► select context ► $qore-expr:{$local:input.Ordered + $local:input.InTransit}
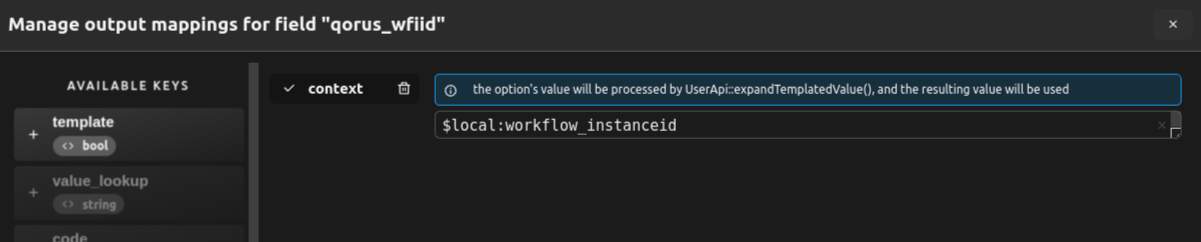
- qorus_wfiid: ► Manage field mappings ► select context ► $local:workflow_instanceid


ℹ️ Note: You can achieve the same by deploying the example-import-csv-file mapper to the server or with oload using the Python client
6. Creating a workflow to process the CSV file into the DB
ℹ️ Note: Workflow is a stateful IT orchestration object. Even though the current solution has no orchestration in this interface. we utilise the unique keys for workflow orders as the file name to ensure that we process each CSV file only once.
- Click on the Create new (new file) icon next to the Workflow interface from the interface hierarchy view.
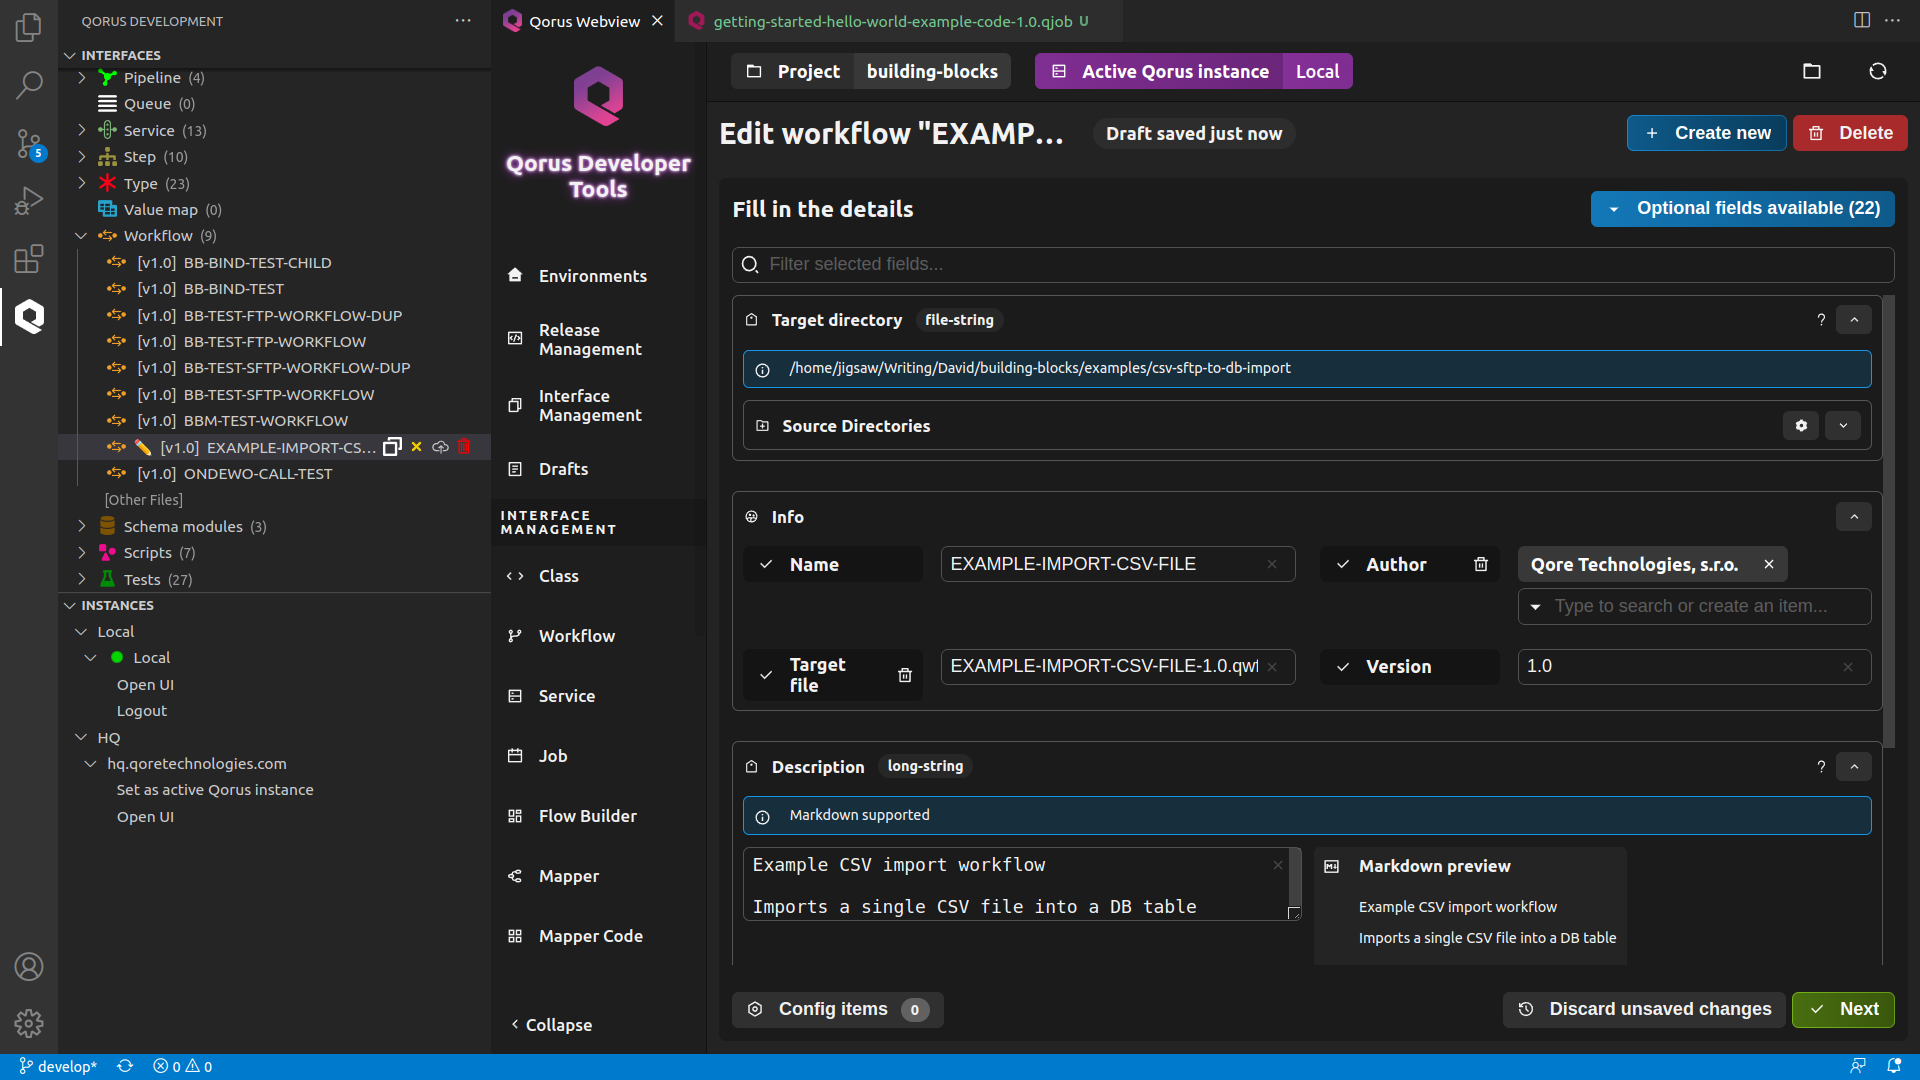
- In the Qorus Webview window, fill the new workflow’s Fill Data form with the following:
- Target Directory : Browse through the Show Directories field and select a source directory. This will be the directory where the code generate by interface is stored.
- Name : EXAMPLE-IMPORT-CSV-FILE This will be the name of our workflow.
- Description : Example CSV import workflow The description field supports markdown so, feel free to format your text in markdown.
- Version : 1.0
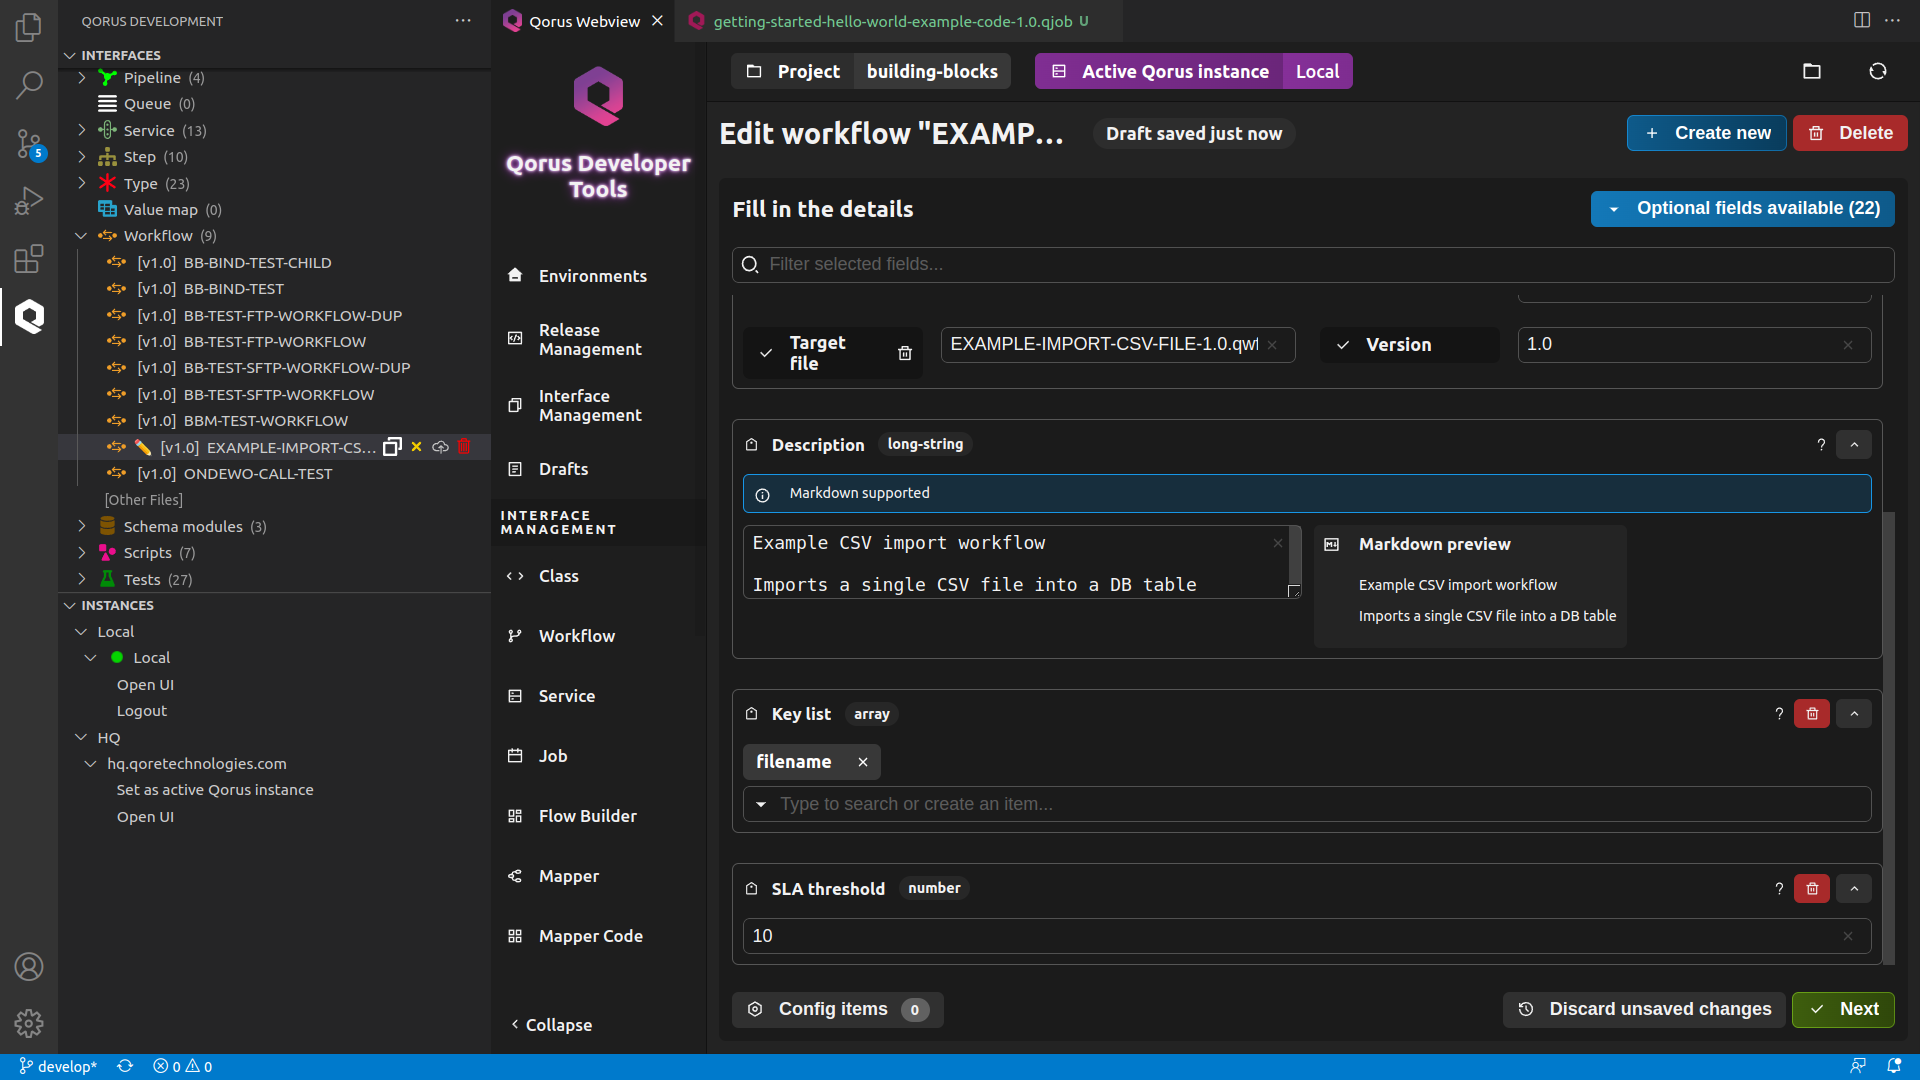
- From the Optional fields drop-down list to the upper-right corner of form, add the Key list field and populate it with
Key list : filename - Now add the SLA threshold field from the Optional Fields list and set it 10. This means that the workflow needs to complete within 10 seconds of being created to meet the SLA
SLA threshold : 10
- Target Directory : Browse through the Show Directories field and select a source directory. This will be the directory where the code generate by interface is stored.
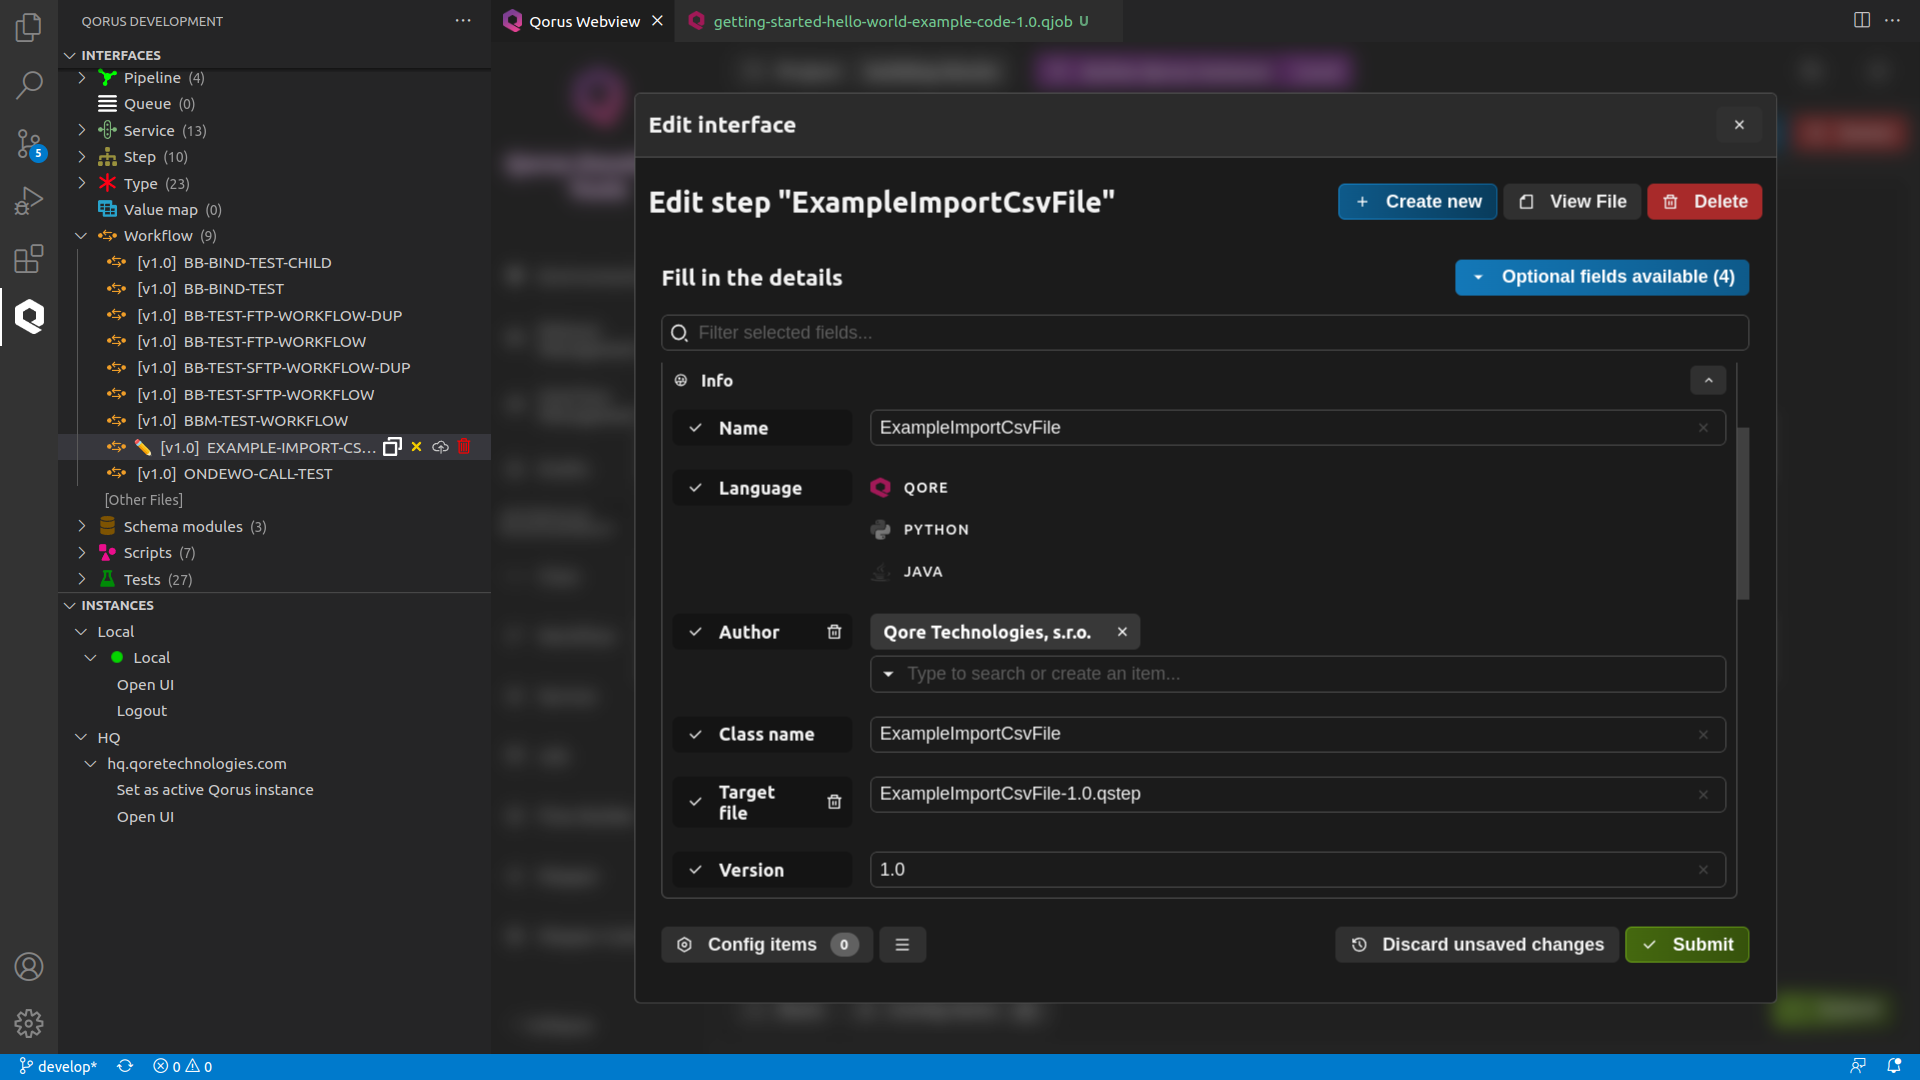
- Name : ExampleImportCsvFile This will be the name of your object.
- Description : Import a CSV file into our target table The description field supports markdown so, feel free to format your text in markdown.
- Click on Please select button next to the Base class name field and select QorusNormalStep, The abstract class for normal steps.
Base class name : QorusNormalStep - Class name : ExampleImportCsvFile
- Version : 1.0
- Target Directory : Browse through the Show Directories field and select a source directory. This will be the directory where the code generated by the interface is stored.
- Name : example-import-csv-file This will be the name of our FSM
- Description : Import a CSV file into our target table The description field supports markdown so, feel free to format your text in markdown.
- Go to the flow builder by clicking on the Go to flow builder button.
- Drag and drop the Connector object into the diagram window and fill the resulting form with the following:
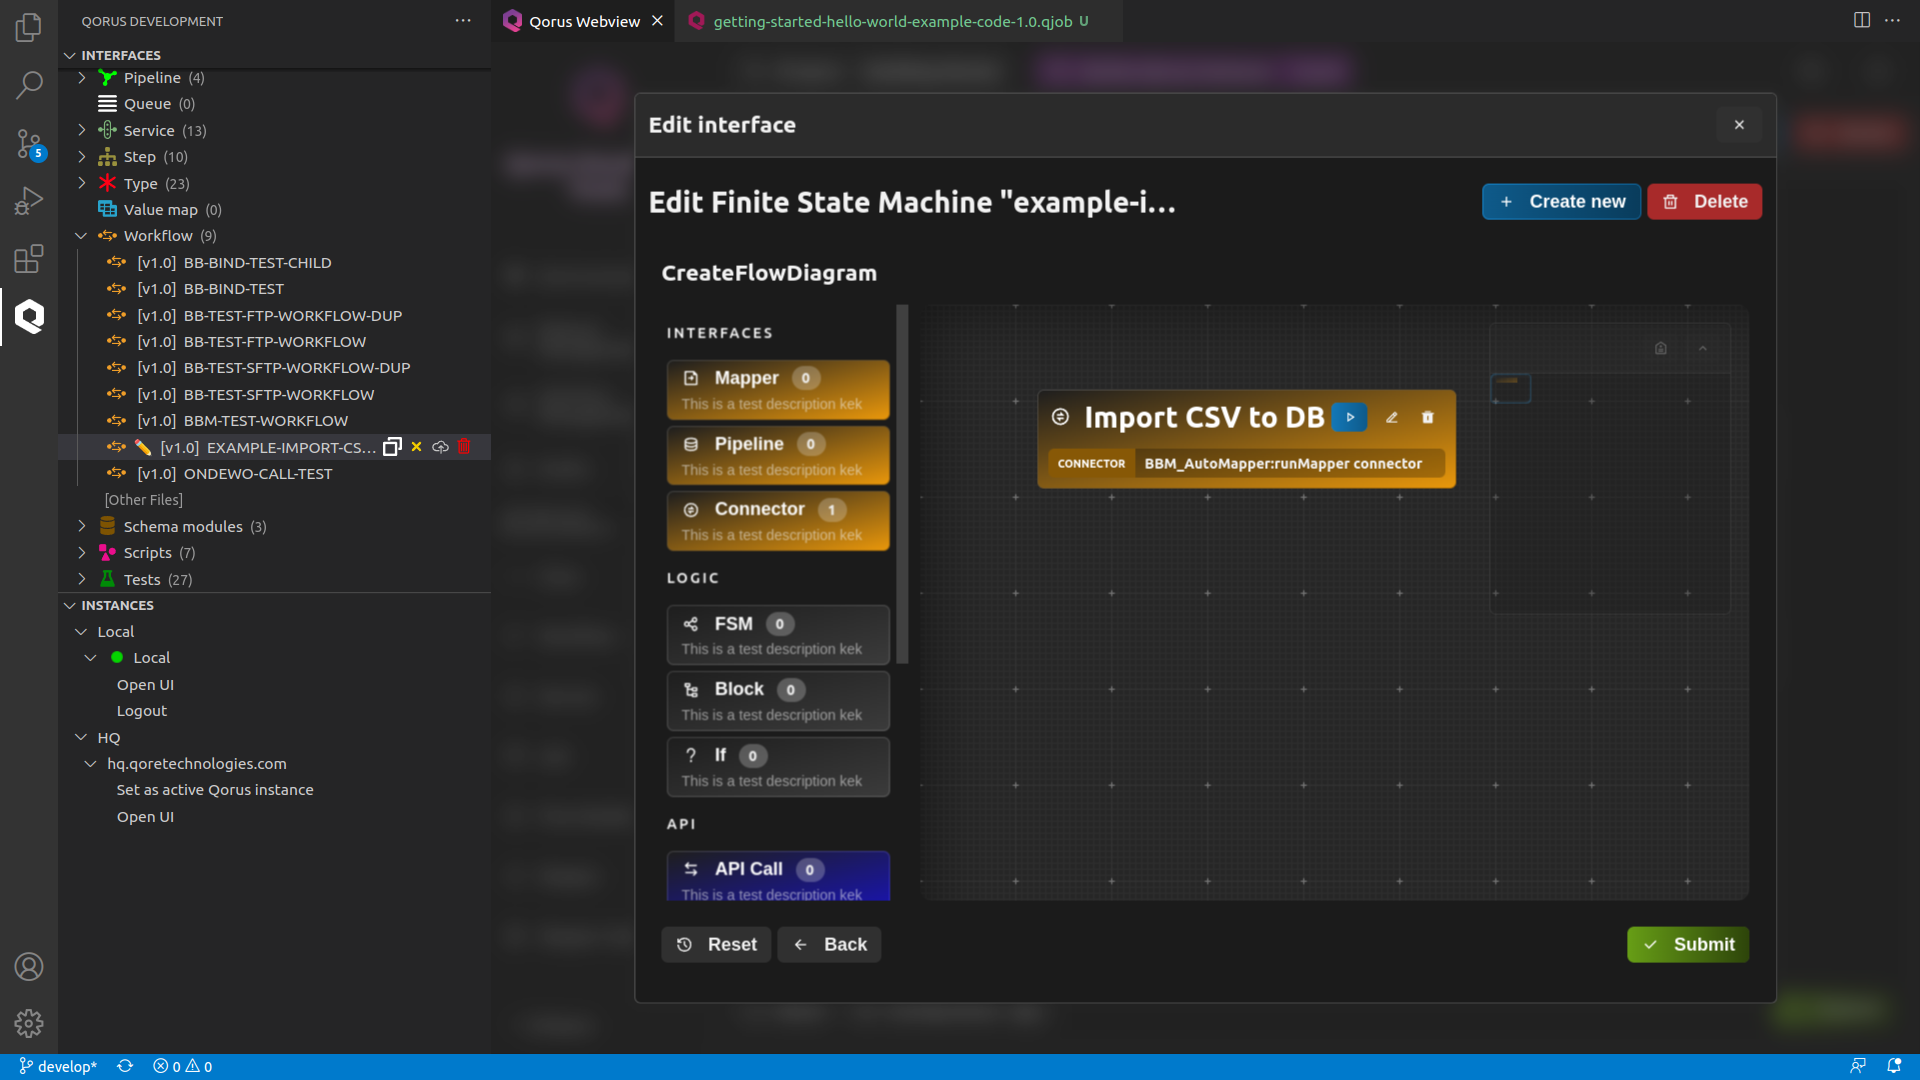
- Name : Import CSV to DB
- Initial : true
- Click on the plus button in the Action value field and select BBM_AutoMapper
- Select runMapper from the Please select dropdown

- Press the Config items button at the bottom and then, on the Add new value button. Click on the Please select drop down and select automapper-mapper-name and set its value to example-import-csv-file
- Close the config item manager and click Submit to save the state.
- Click on Submit to save and close the FSM
ℹ️ Note : All class objects that start with “BBM” in their name are part of the Qorus’s building blocks. Each object/block has its own functionality that can be arranged in a certain logic to accomplish a particular task, providing a complete no-code approach to data integration. As such, You can also code a custom object/block to accomplish a custom task or write your version of an already existing building block.
- EXAMPLE-IMPORT-CSV-FILE-1-1.0.qwf.yaml
- example-import-csv-file-1.0.qmapper.yaml
- ExampleImportCsvFile-1.0.qstep.yaml
- example-import-csv-file.qfsm.yaml
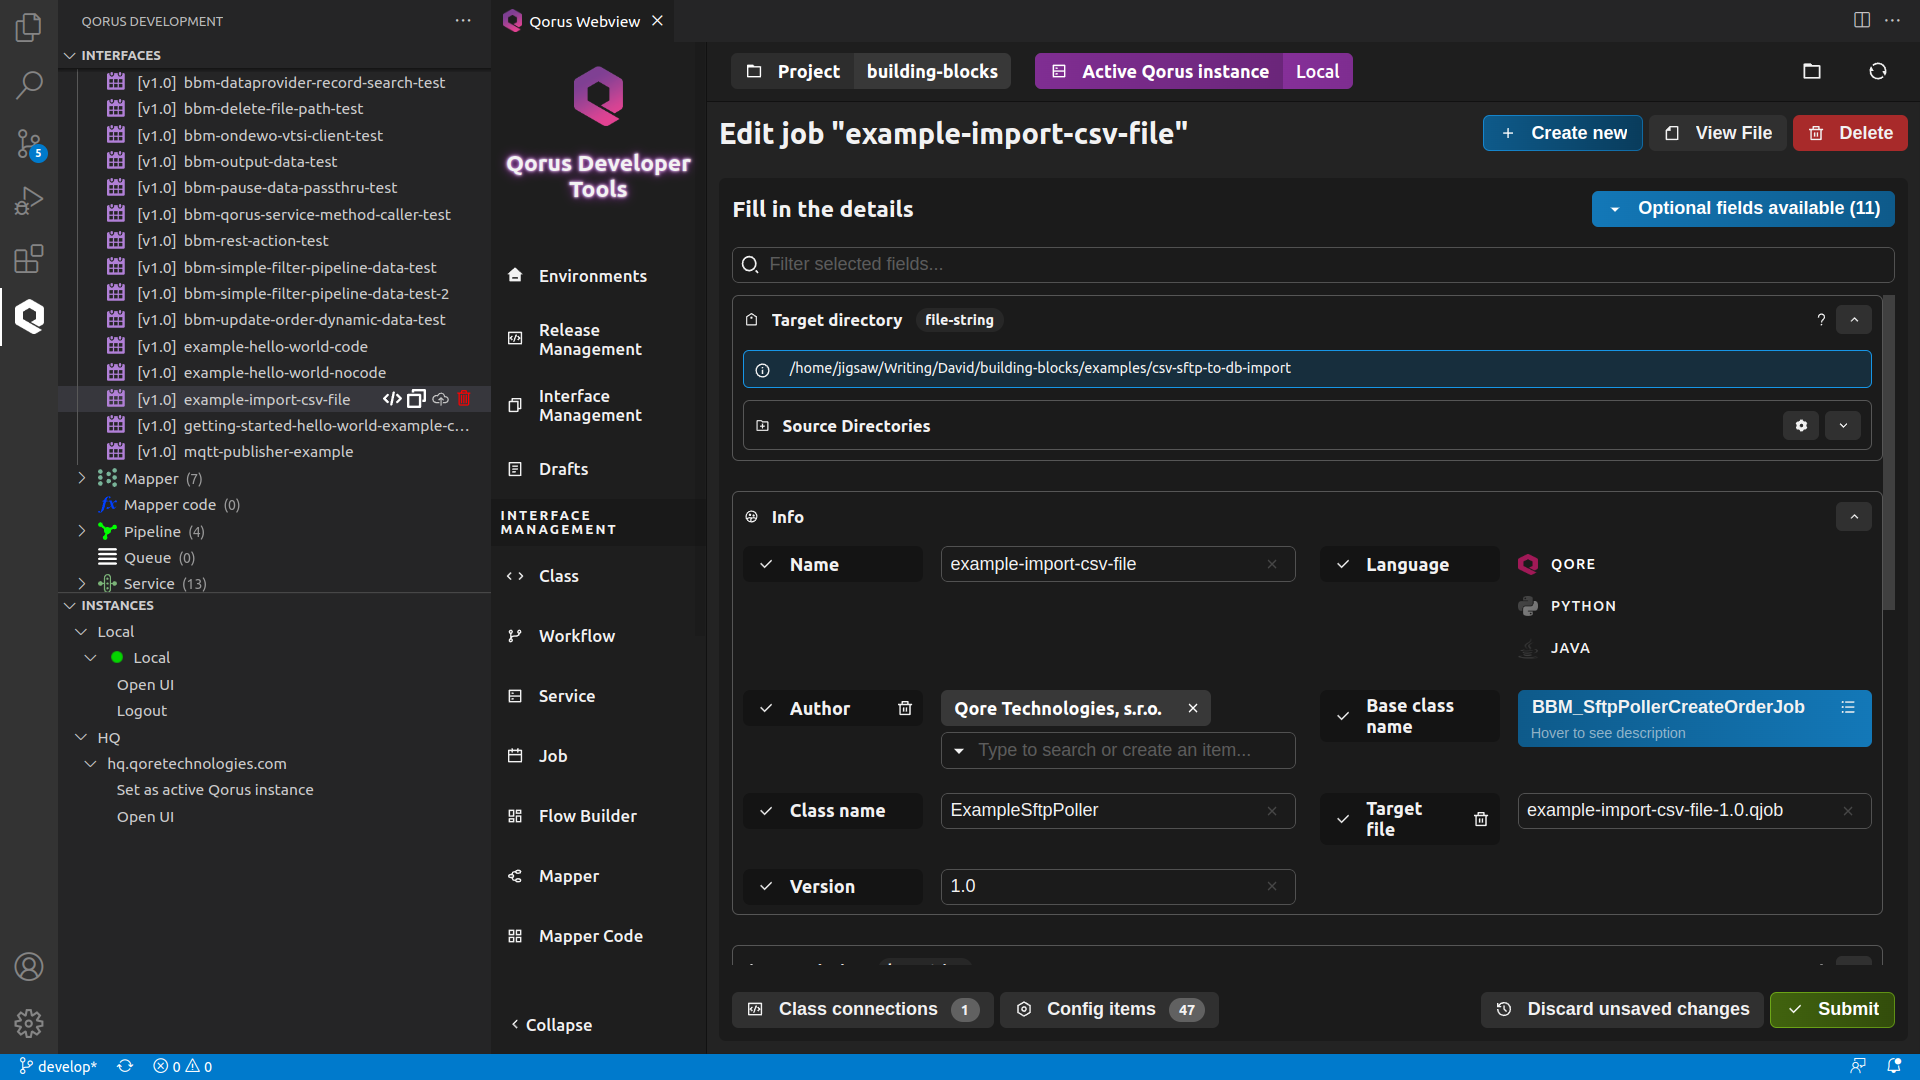
7. Create an SFTP Polling Job
1. Create a new duplicate directory $OMQ_DIR/user/csv-import/duplicate in the Qorus container.
ℹ️ Note: When the Qorus’ docker container is run for the first time, the environment setup script /opt/qorus/bin/env.sh in the container is executed, which exports the environment variable OMQ_DIR and sets it to /opt/qorus. Therefore, $OMQ_DIR/user/csv-import/duplicate is /opt/qorus/user/csv-imort/duplicate
- Target Directory : Browse through the Show Directories field and select a source directory. This will be the directory where the code generated by the interface is stored.
- Name : example-import-csv-file This will be the name of our job
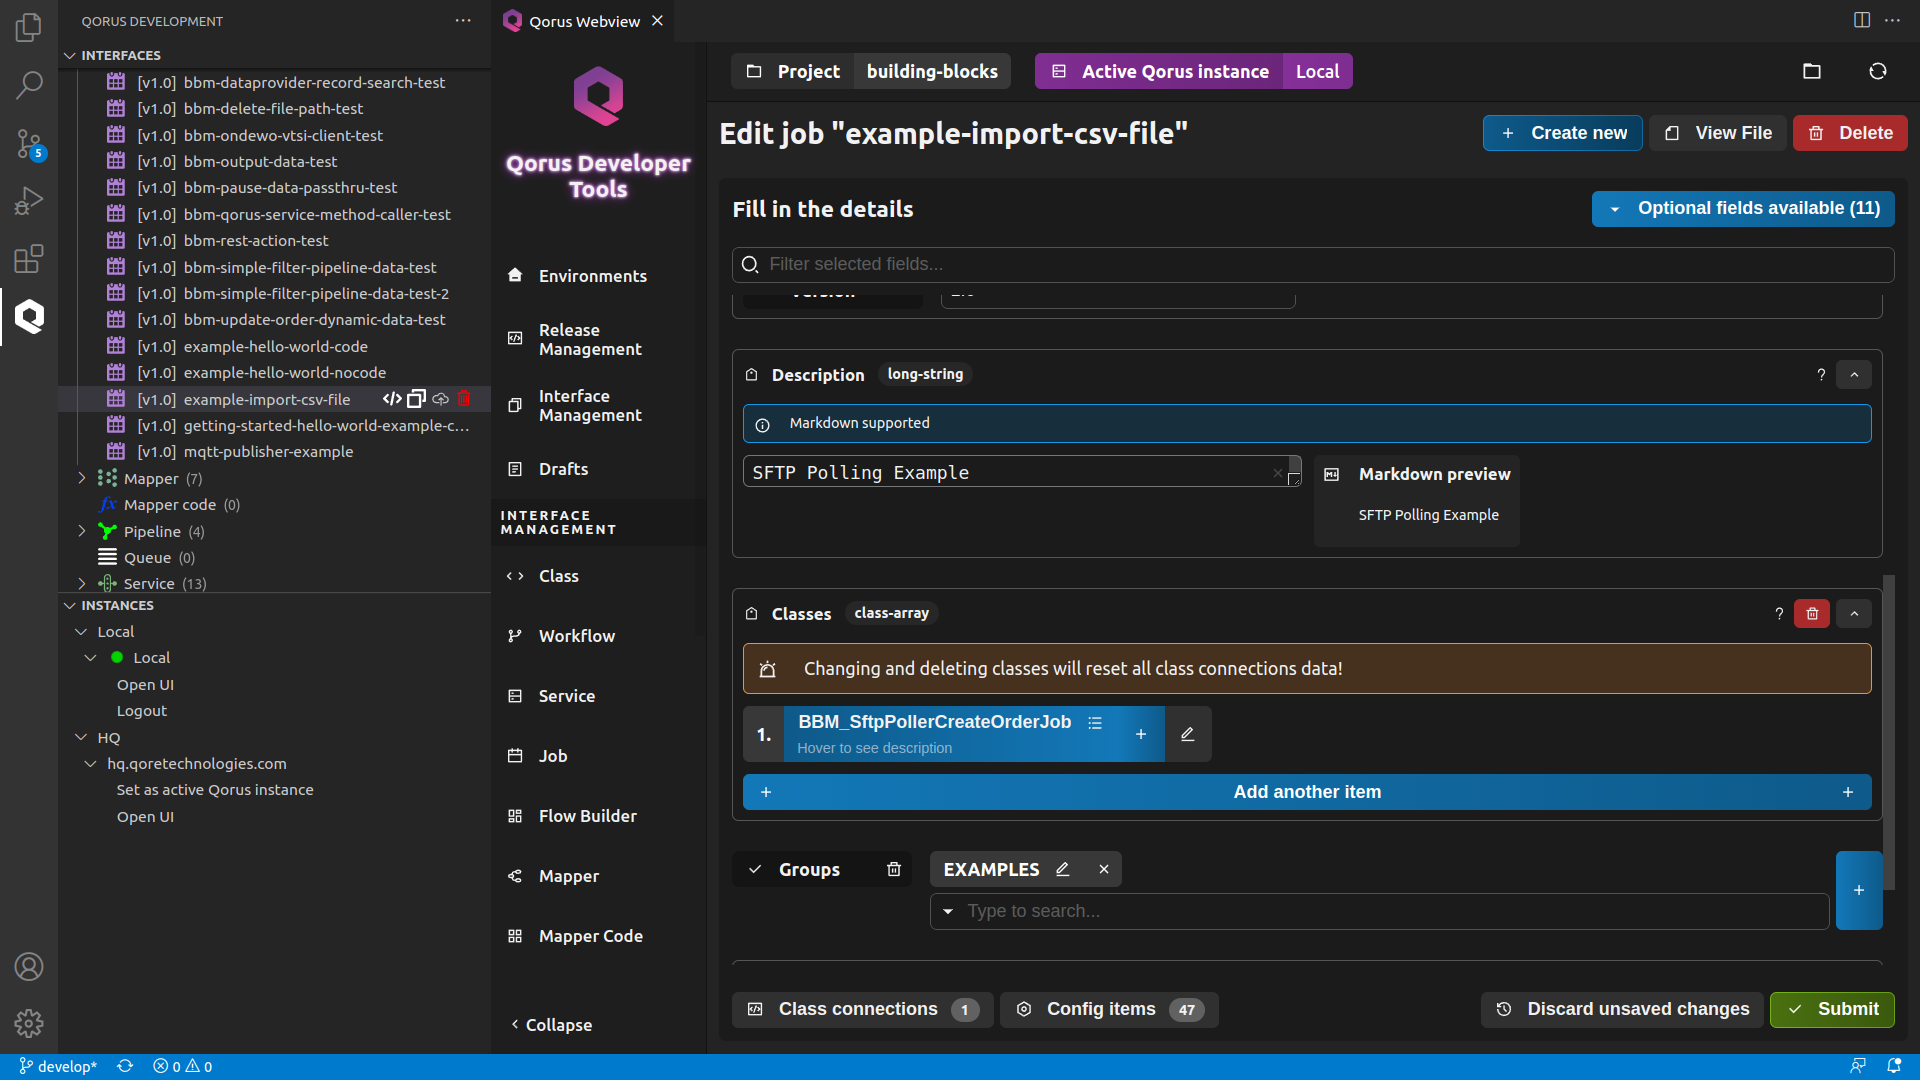
- Description : SFTP Polling Example The description field supports markdown so, feel free to format your text in markdown.
- Click on the Please select button in the Base class name field and select BBM_SftpPollerCreateOrderJob
- Class name : ExampleSftpPoller
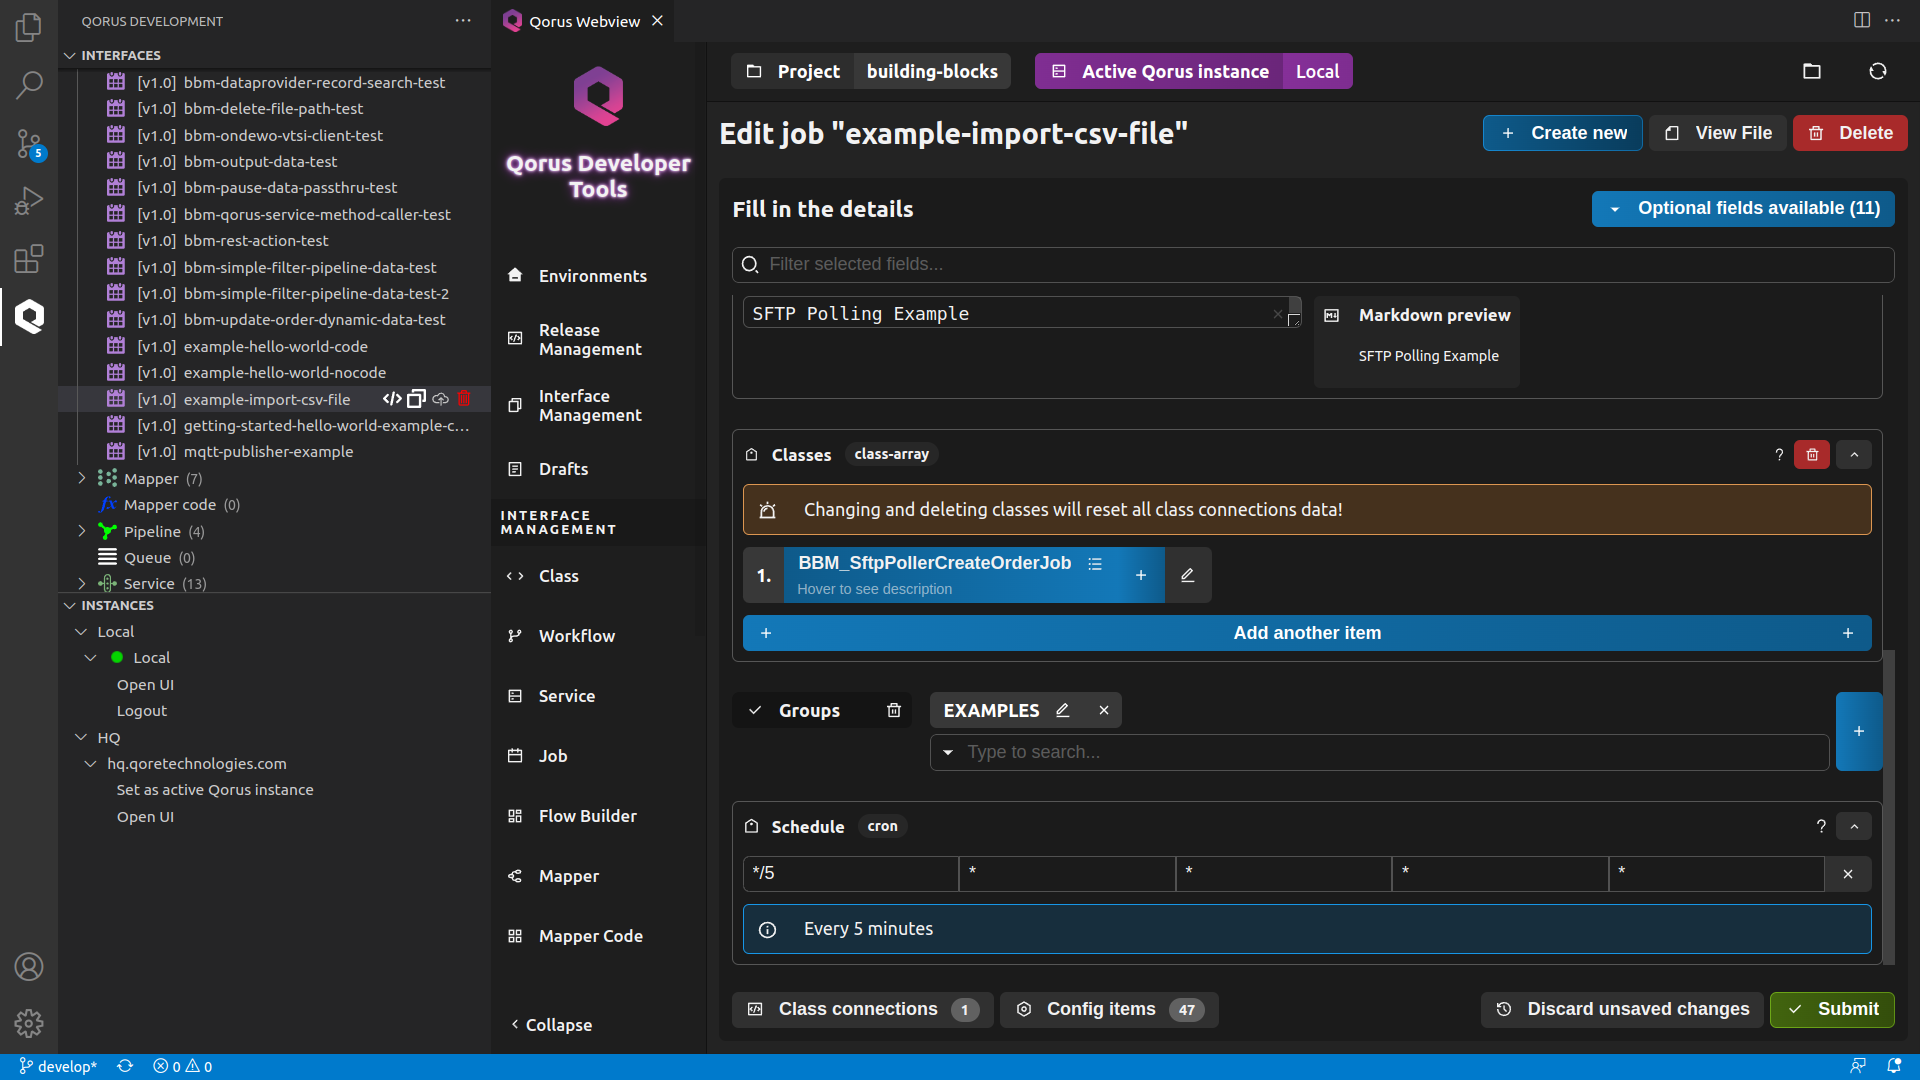
- Populate the Schedule field with the following:
- Minute : */5
- Hours : *
- Day : *
- Month : *
- Weekday : *
- Version : 1.0
- From the Optional Fields drop-down list to the upper-right of the form, add the Classes field and click on the please select button to select BBM_SftpPollerCreateOrderJob
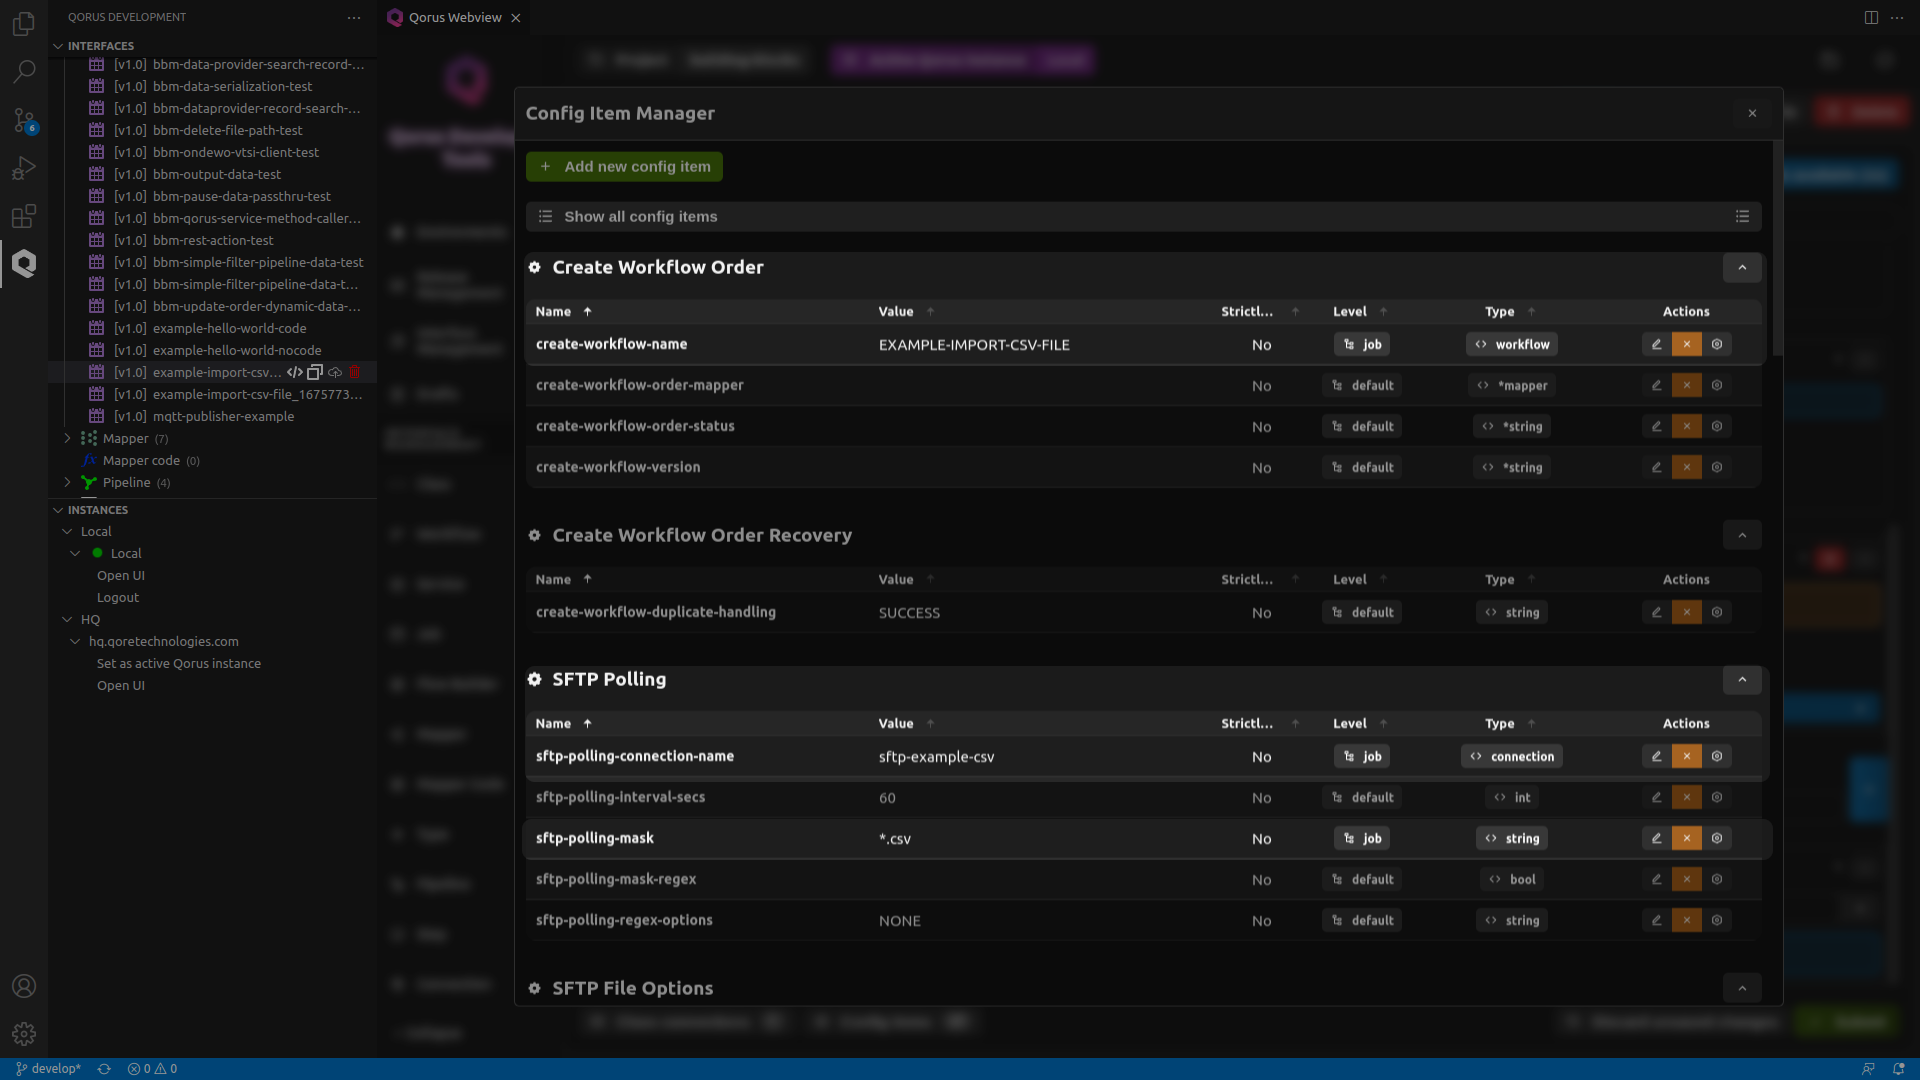
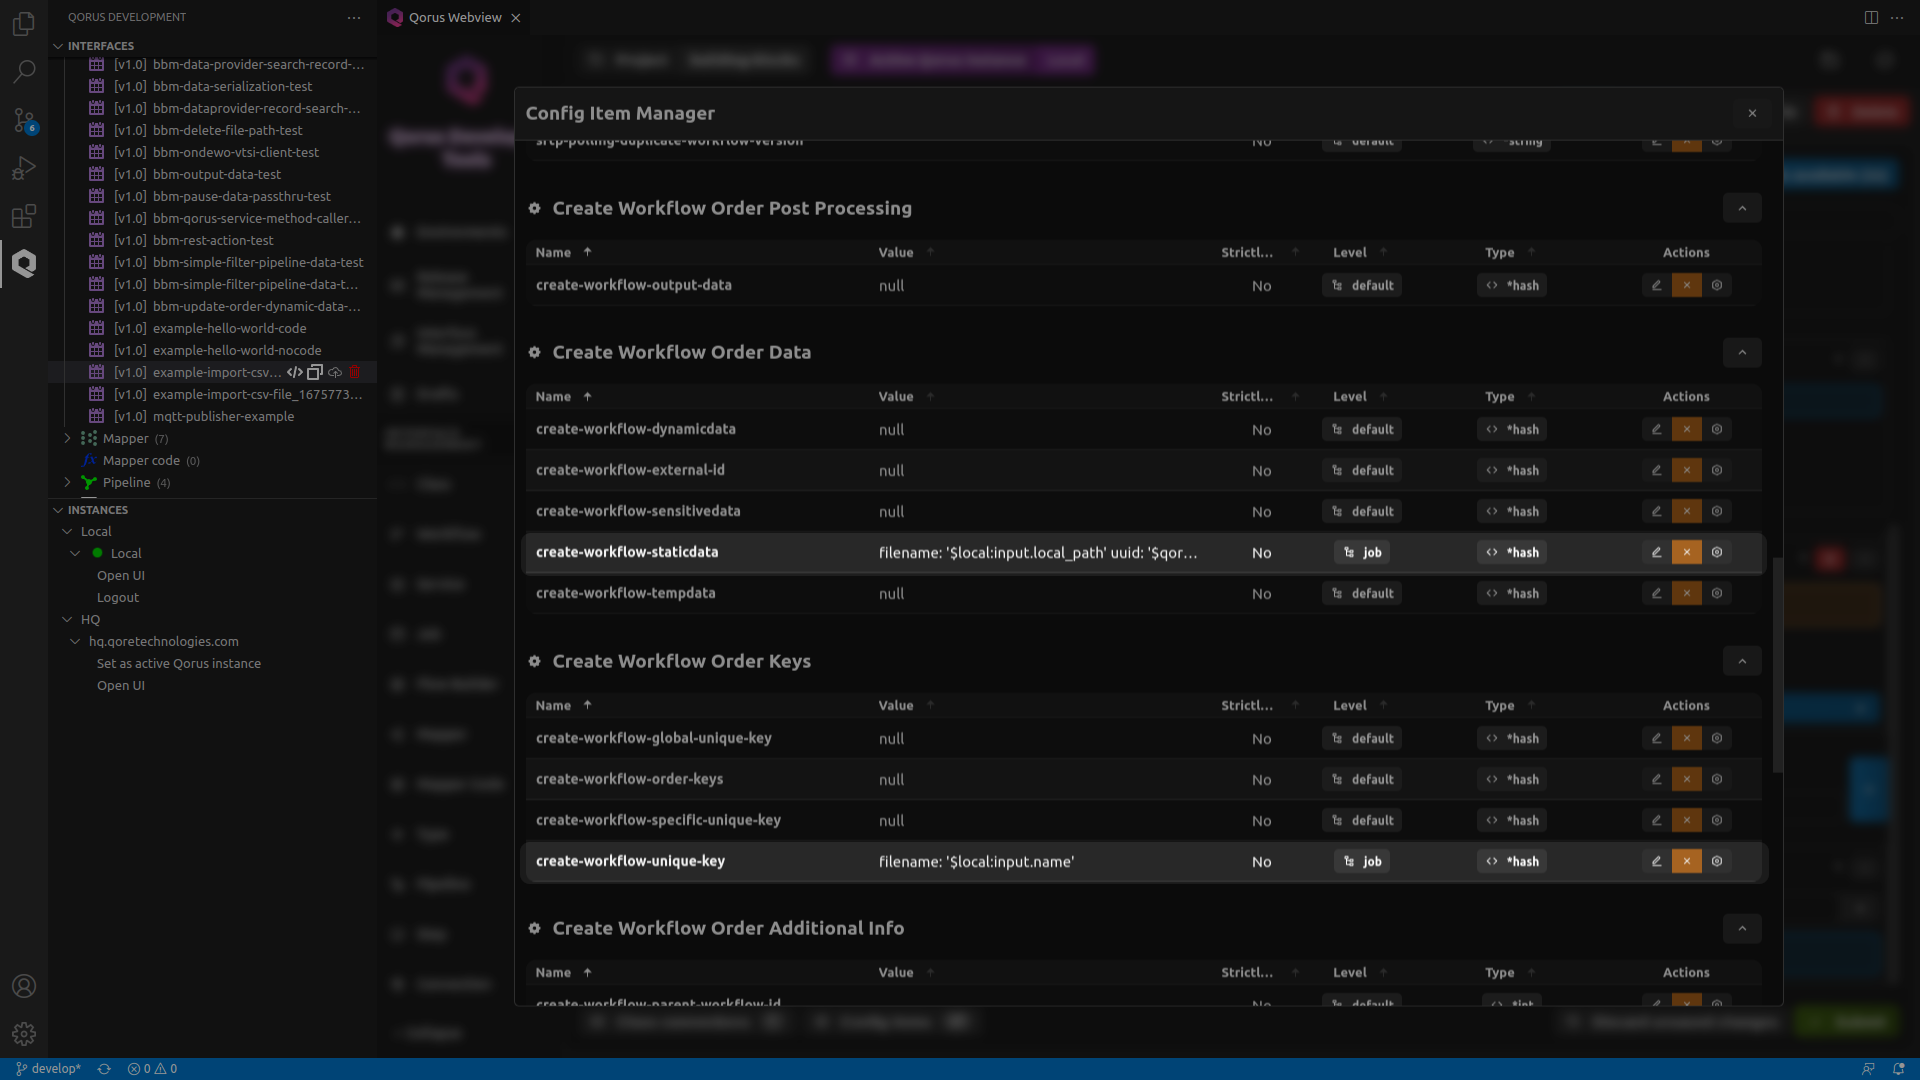
| Config group | Name | Description | Type | Value |
|---|---|---|---|---|
| Create Workflow Order | create-work-flow-name | The name of the workflow | Workflow | EXAMPLE-IMPORT-CSV-FILE |
| SFTP Polling | sftp-polling-connection-name | Name of the SFTP connection | Connection | sftp-example-csv |
| SFTP Polling | sftp-polling-mask | the filename mask for files to match when polling | string | *csv |
| SFTP File Options | sftp-polling-file-connection | The name of a local file connection where to save files | Connection | fs-example-csv |
| SFTP File Options | sftp-polling-file-name | a template string giving the target local file name as offset from the connection identified with 'sftp-polling-file-connection' | string | in-process/$local:{name} |
| SFTP Polling Fine Tuning | sftp-polling-file-temp-template | The template for the temporary filename used while transferring the file | string | tmp.$local:{name}.part |
| Create Workflow Order Data | create-workflow-staticdata | A hash providing the initial workflow order static data; for resolving template values | hash | filename: $local:input.local_path uuid: $qore-expr:{UUID::get()} |
| Create Workflow Order Keys | create-workflow-unique-key | An optional hash of order keys that will ensure uniqueness for a particular workflow name (across all versions) | hash | filename: $local:input.name |
| SFTP Polling Workflow Creation Duplicate File Handling | sftp-polling-duplicate-name-template | The filename template for the target file when moving duplicate files | string | $local:name-$timestamp:{YYYY-MM-DD HH:mm:SS.xx} |

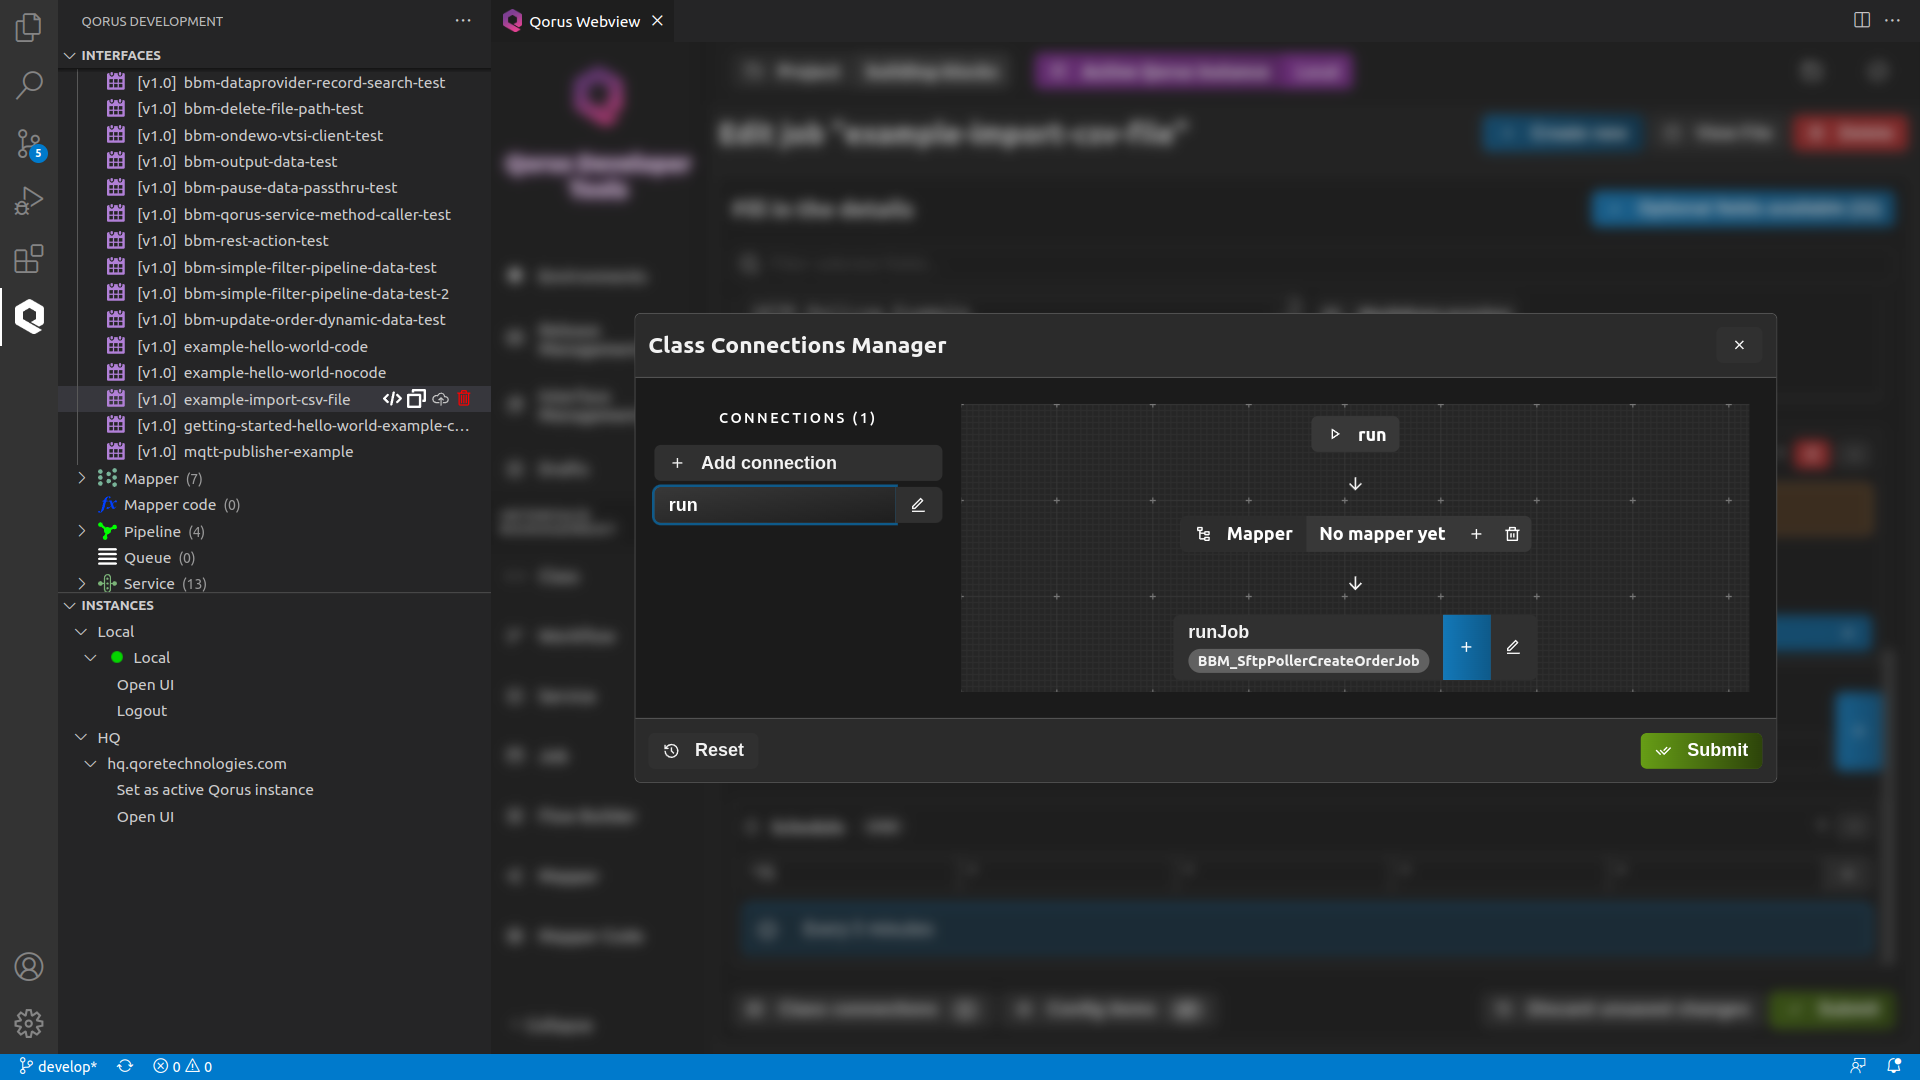
- Click on the Add connection button in the Class Connections Manager to add a connection.
- Press the edit button on the resulting connection and rename it to run
- Click on the Add initial connector and populate the fields as follows:
- Class : BBM_SftpPollerCreateOrderJOb
- Connector : runJob
- Trigger : run
- Click Submit button to save
Verify Your Installation and Deployment
- Go to the Qorus operational web interface at https://localhost:8011 and verify that the workflow EXAMPLE-IMPORT-CSV-FILE and the job example-import-csv-file are both running.
- Check the sftp sftp-example-csv and filesystem fs-example-csv connections to make sure they are up / working.
Testing the solution
scp -i [path-to-your-private-key] -oIdentitiesOnly=true StockReport-b88a43eb-4cdd-46c2-8d64-4b26bd3aed64.csv [user]@[your-sftp-server]:[your-interface-directory]
6.Test duplicate file handling by resubmitting a CSV file that’s already been processed and make sure it arrives in the duplicate directory
Retrying
- oload -Xwfinstances:EXAMPLE-IMPORT-CSV-FILE:1.0 (deletes all orders for the workflow)
- qdp omquser/inventory_example del (deletes all rows in the interface table)