In this blog post, you’ll learn how to create and deploy Qorus releases. Like most tasks in Qorus, You can create and deploy releases using either the IDE or the command-line.
Creating and Deploying a Qorus Release Through The UI
- Access the IDE’s main menu by clicking on the purple “Q” icon in the Qorus Developer Tools Extension.
- Open the Release Management menu by clicking on the same in the Qorus Webview window’s sidebar.
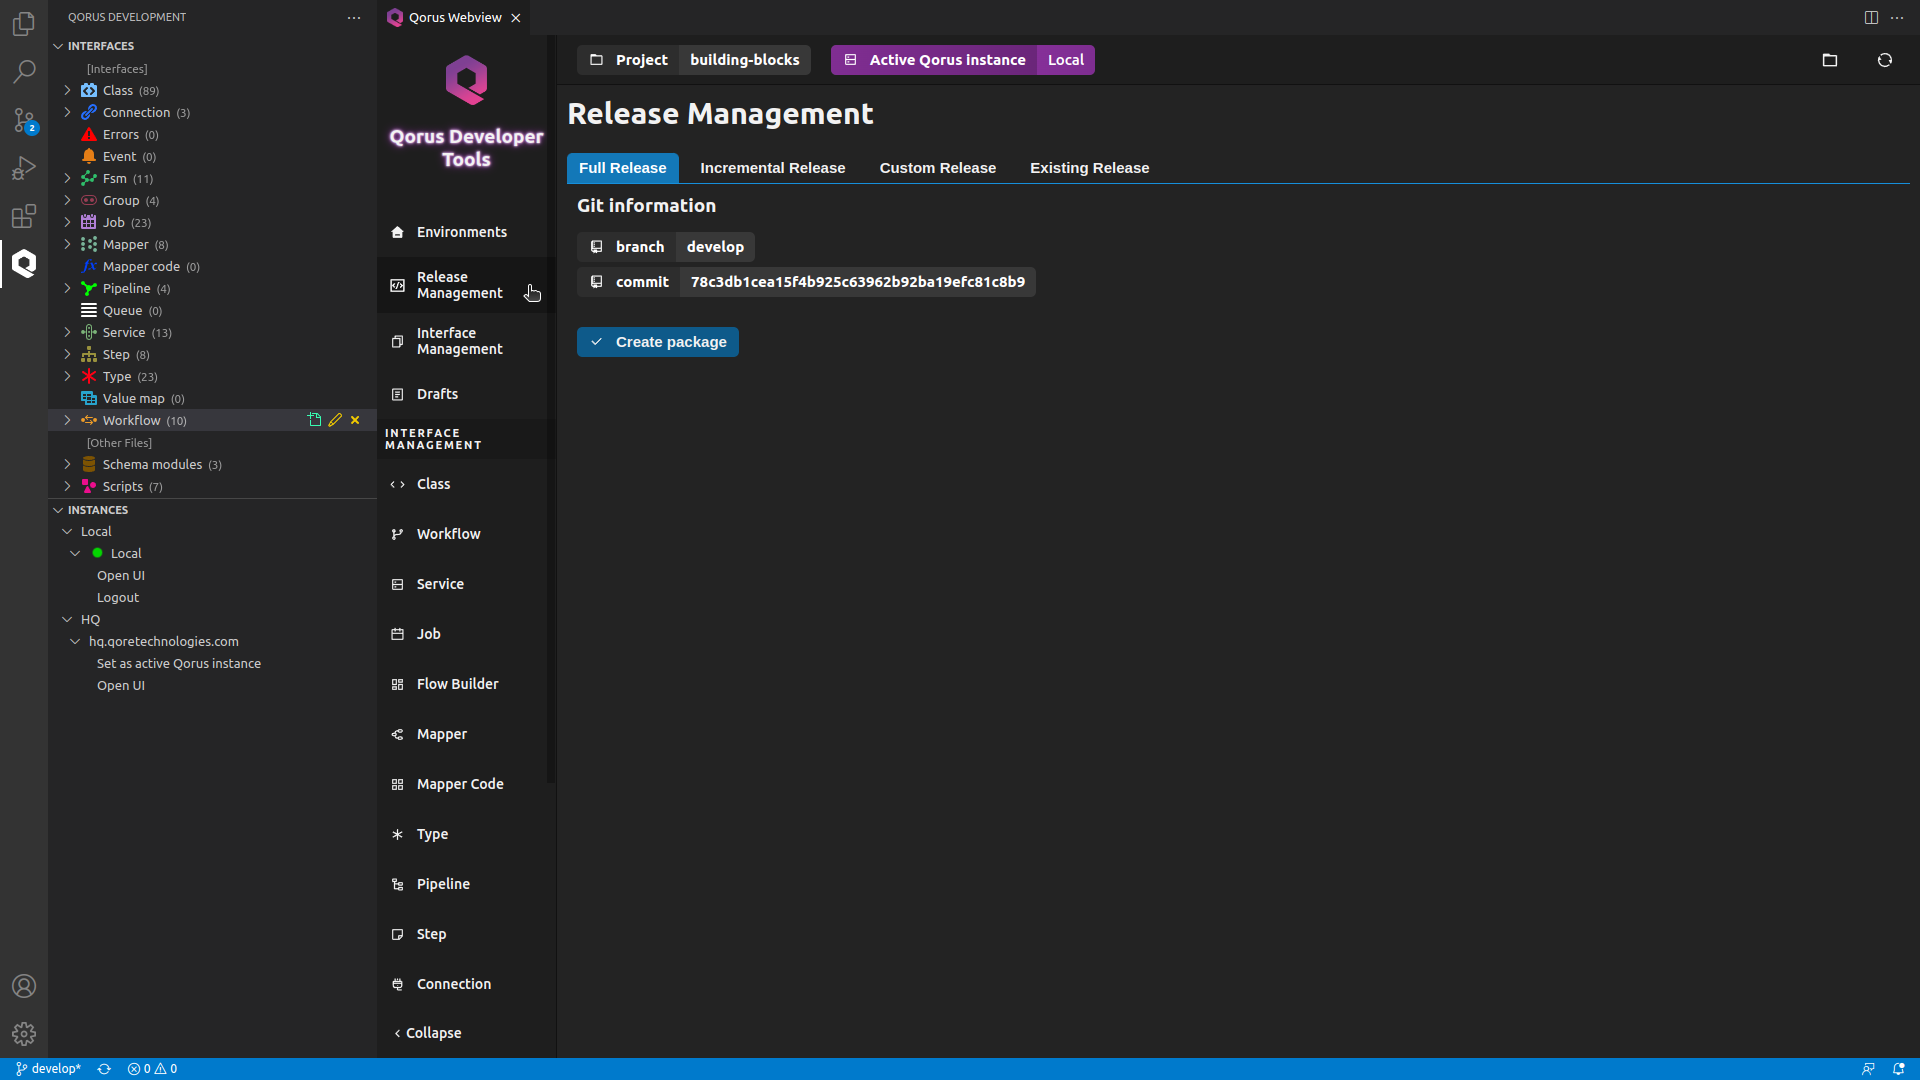
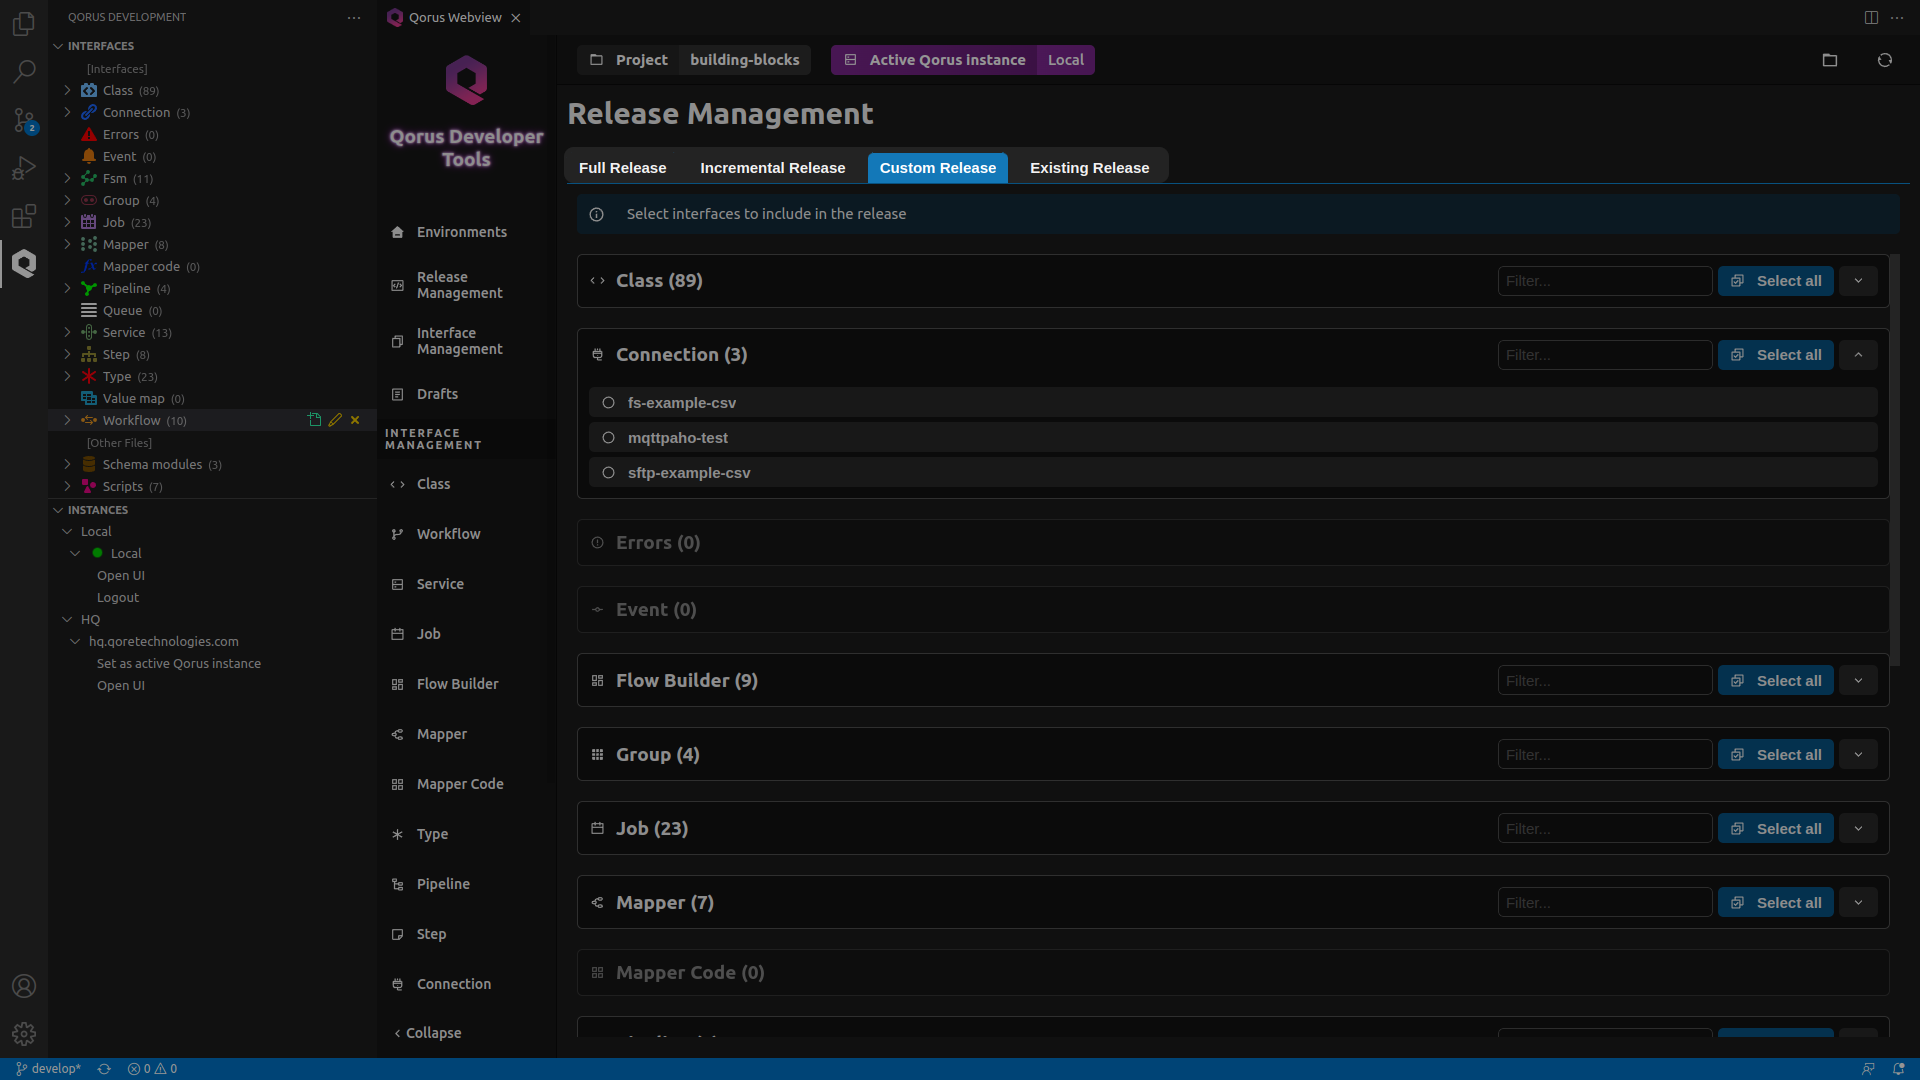
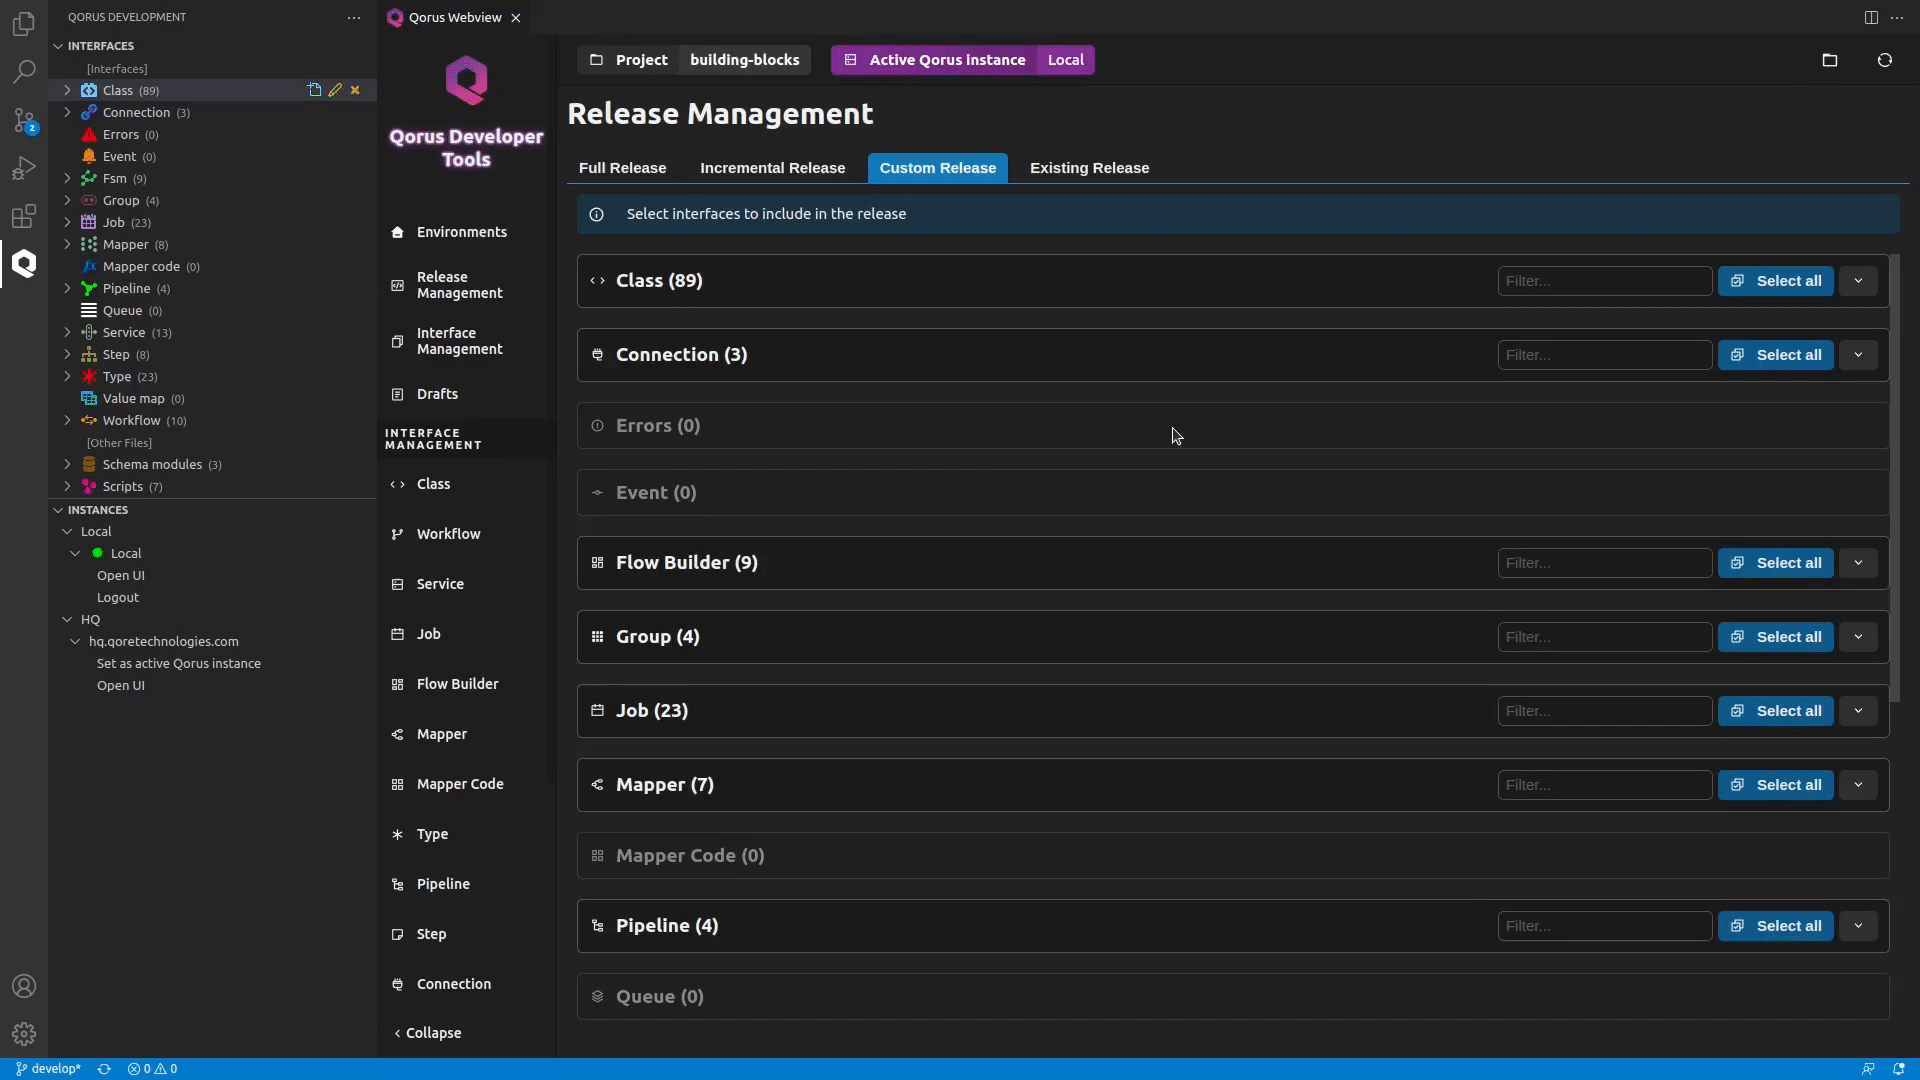
In the Custom Release tab, all the available interfaces are grouped by type. To include them in the release, click the radio button next to the interface. Qorus supports the following release types:
- custom : allows the user to choose the objects to go in the release
- full : includes all files in the release
- incremental : assumes that the project folder is checked out from a git repository and allows the user to release files changed from another branch
- existing : allows the user to use an existing release file
Creating and Deploying a Release For the Hello, world! Example - UI
- hello-world – Fsm / Finite State Machine / Flow Builder
- EXAMPLES – Group
- example-hello-world-nocode / example-hello-world-code – Job
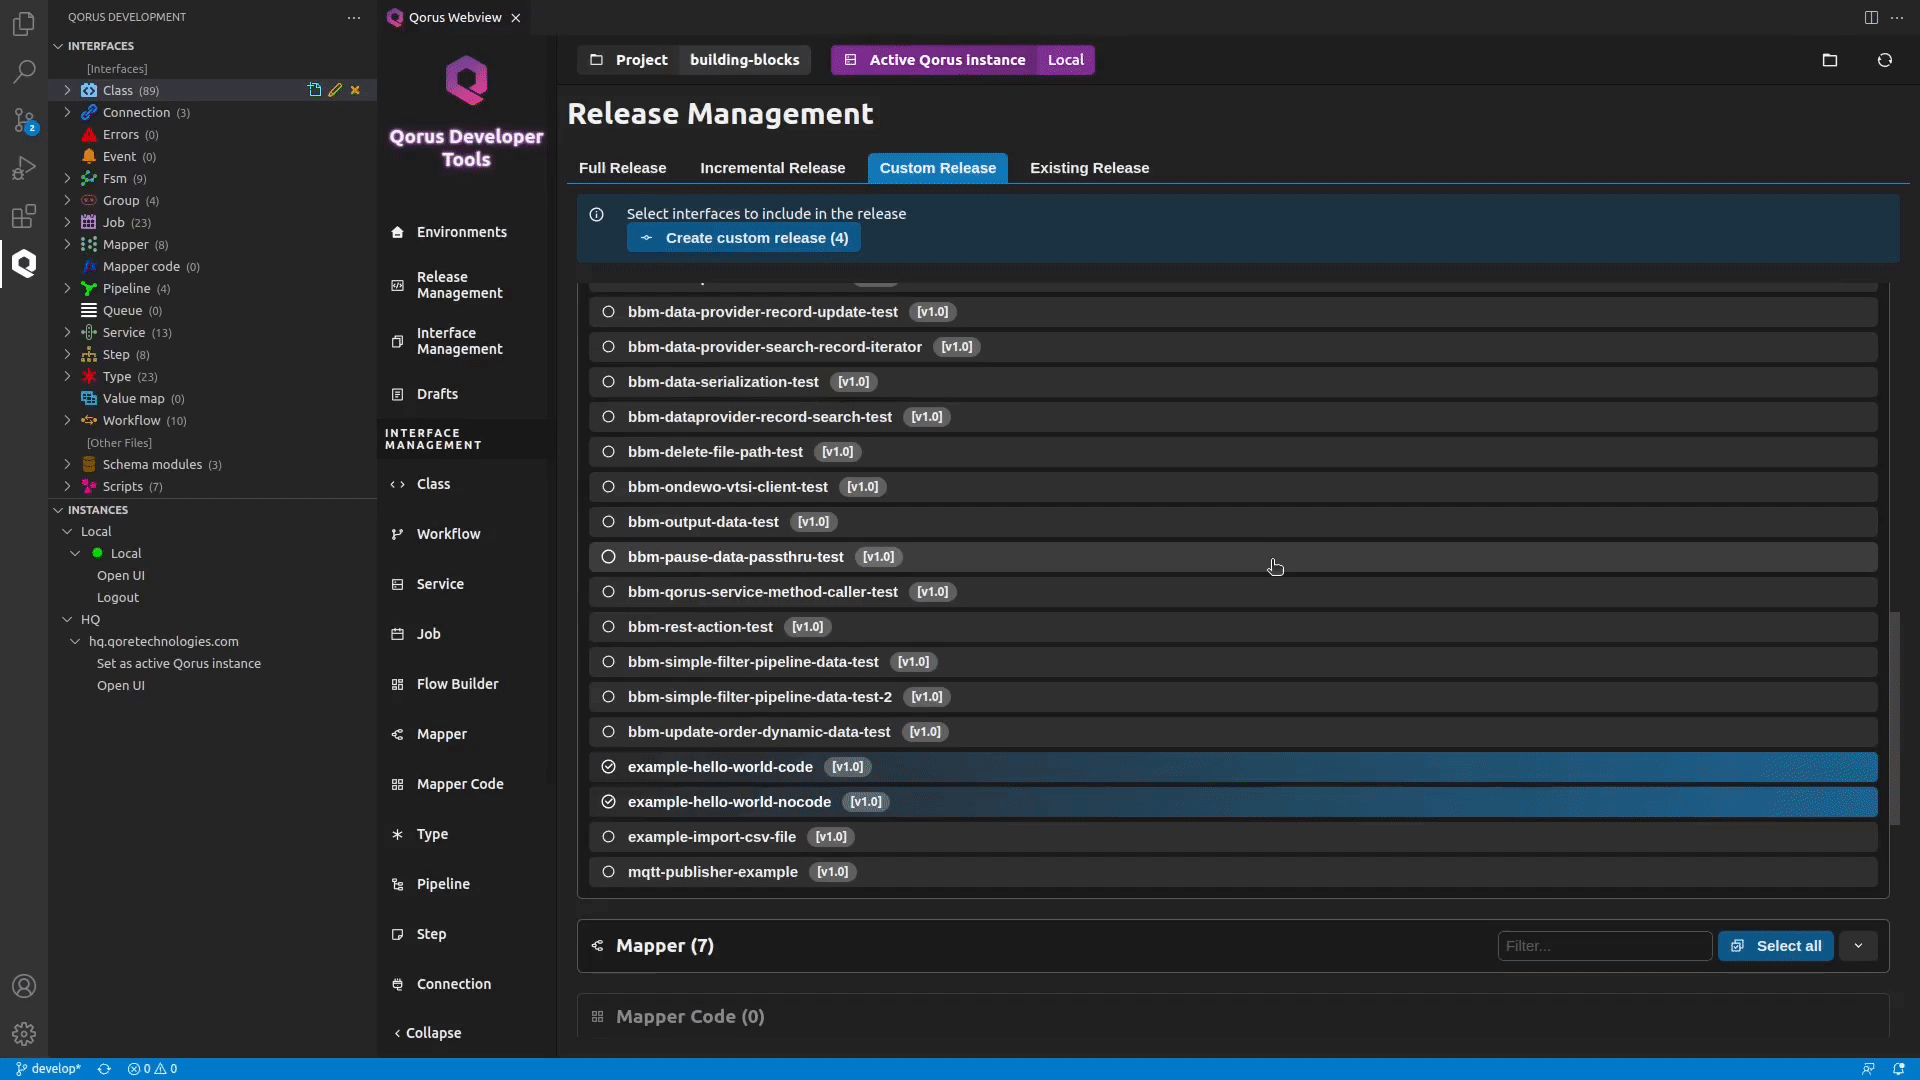
Go to the Custom Release tab and include all the interface required for the Qorus’ “Hello, world” example. You can do that by clicking on the radio button next to the interface name.
ℹ️ Note: You can save the release file for future use by clicking the Save release file button. The IDE will save your release as a tar ball (.tar.gz). To deploy a release file that is created in this manner, open the Make release menu and set the release type to existing. Click on the Select release file to browse and select your release file. Deploy your release by clicking on the Deploy package button.
Deploying a Release File Through the Qorus Web Interface
- Go to the Qorus operational web interface at https://localhost:8011
- Click on the Upload new release button (tray icon) in the top bar
- Drop/Select your release file in the Select file field
- Click on the Submit button to deploy your release
Creating and Deploying a Qorus Release Through The Command-line
Qorus lets you perform most of the tasks that you can do through IDEs UI, with command-line as well. You can create release files using the make-release script included during the qorus-remote installation.
To learn about its usage and for help with options, run:
make-release -h
- -c, –compress: Creates a compressed installation archive
- -f, –refresh: Refreshes objects after loading
- -U, –user-src: Sets the root source directory for release components; all release components should be given as relative paths from this directory
- -p, –prefix: Sets user prefix directory for relative paths in the target filesystem
Creating a Release For the Hello, world! Example - Command-line
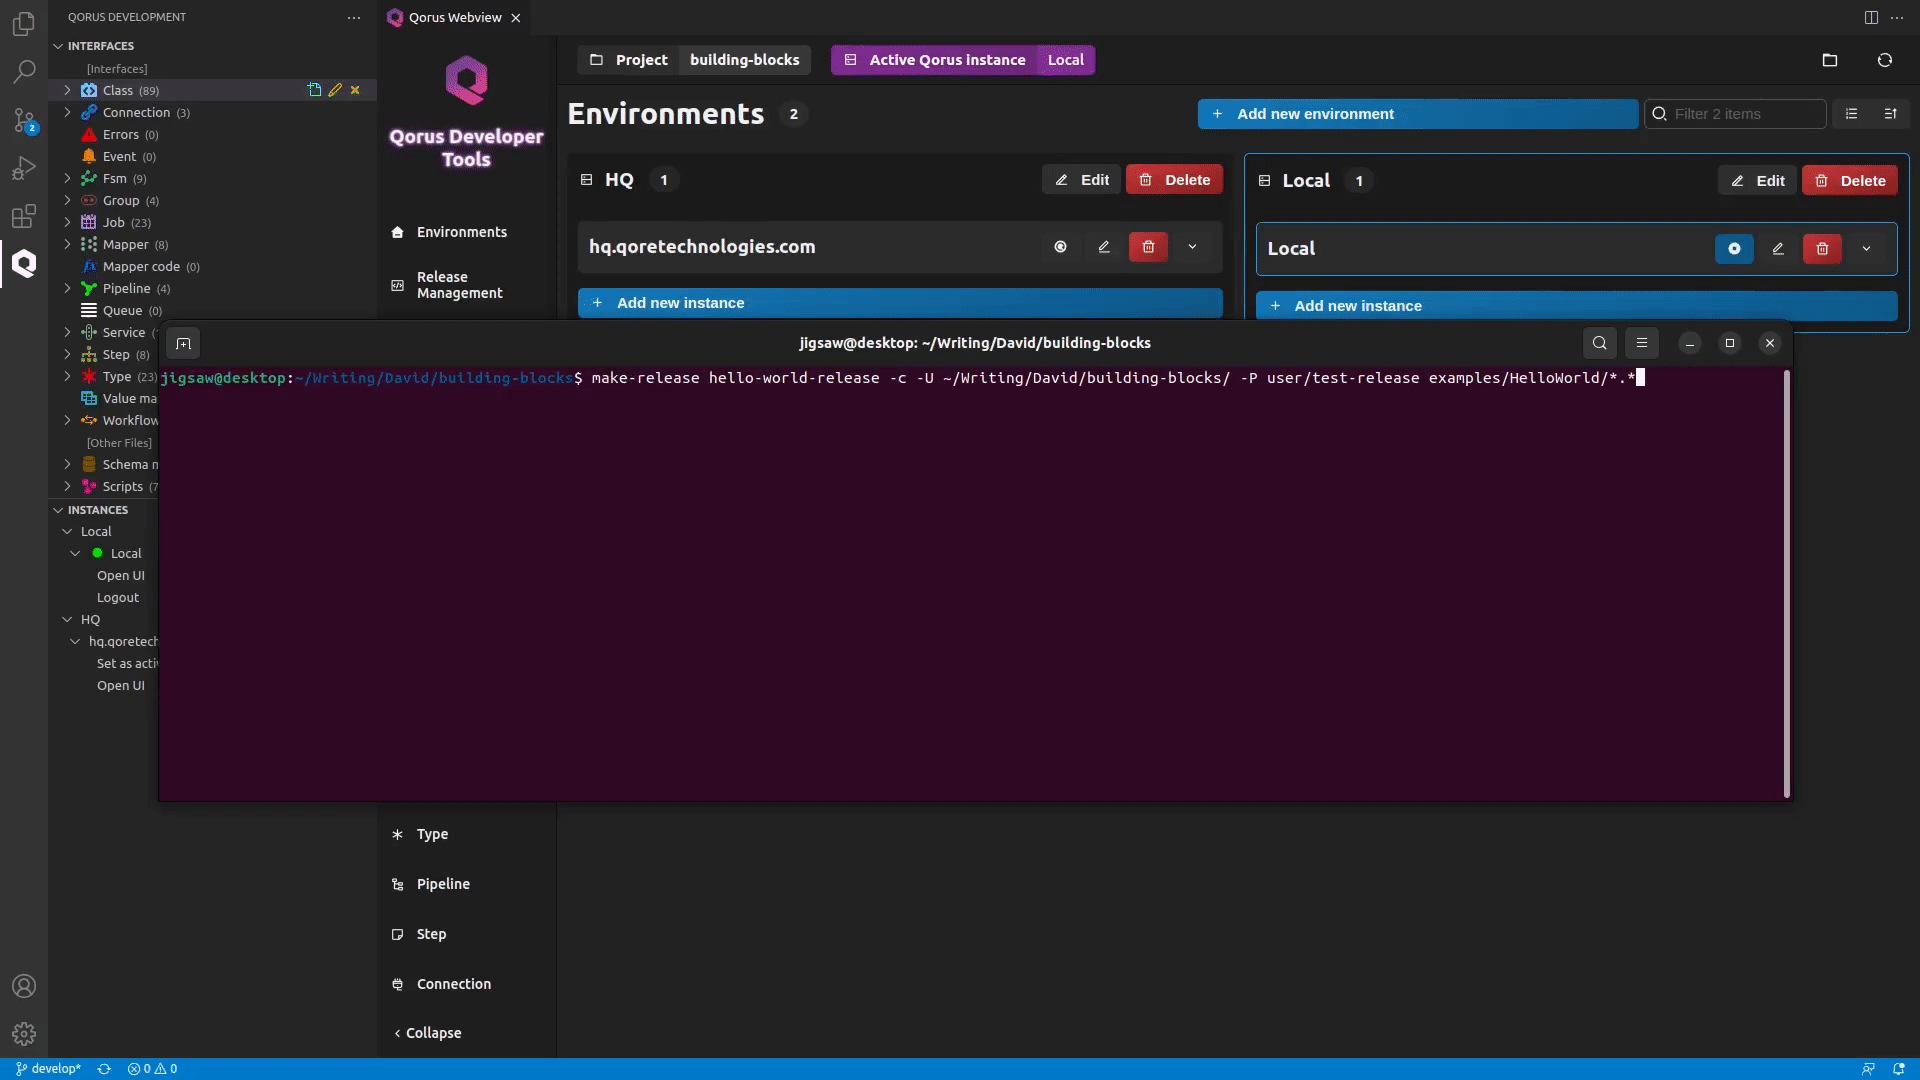
make-release hello-world-release -cf -U [path-to-building-blocks-dir] -p user/my-release examples/HelloWorld/*.*
ℹ️ Note: Because all user release files should be written to $OMQ_DIR/user ( /opt/qorus/user ) on the target server, in case the release directory does not begin with user/, it can be added using the -P option.
With (*.*), we are including all the files in the examples/HelloWorld directory in file list to make-release.
This will create a release file with hello-world-release as its label in the $HOME/release directory
In case of objects with code and metadata, providing only the metadata (*yaml file) on the command line will be sufficient; the code files will be automatically included. make-release will also include all the service resources of a Service object for you.
Deploying the Release file For the Hello, world! Example - Command-line
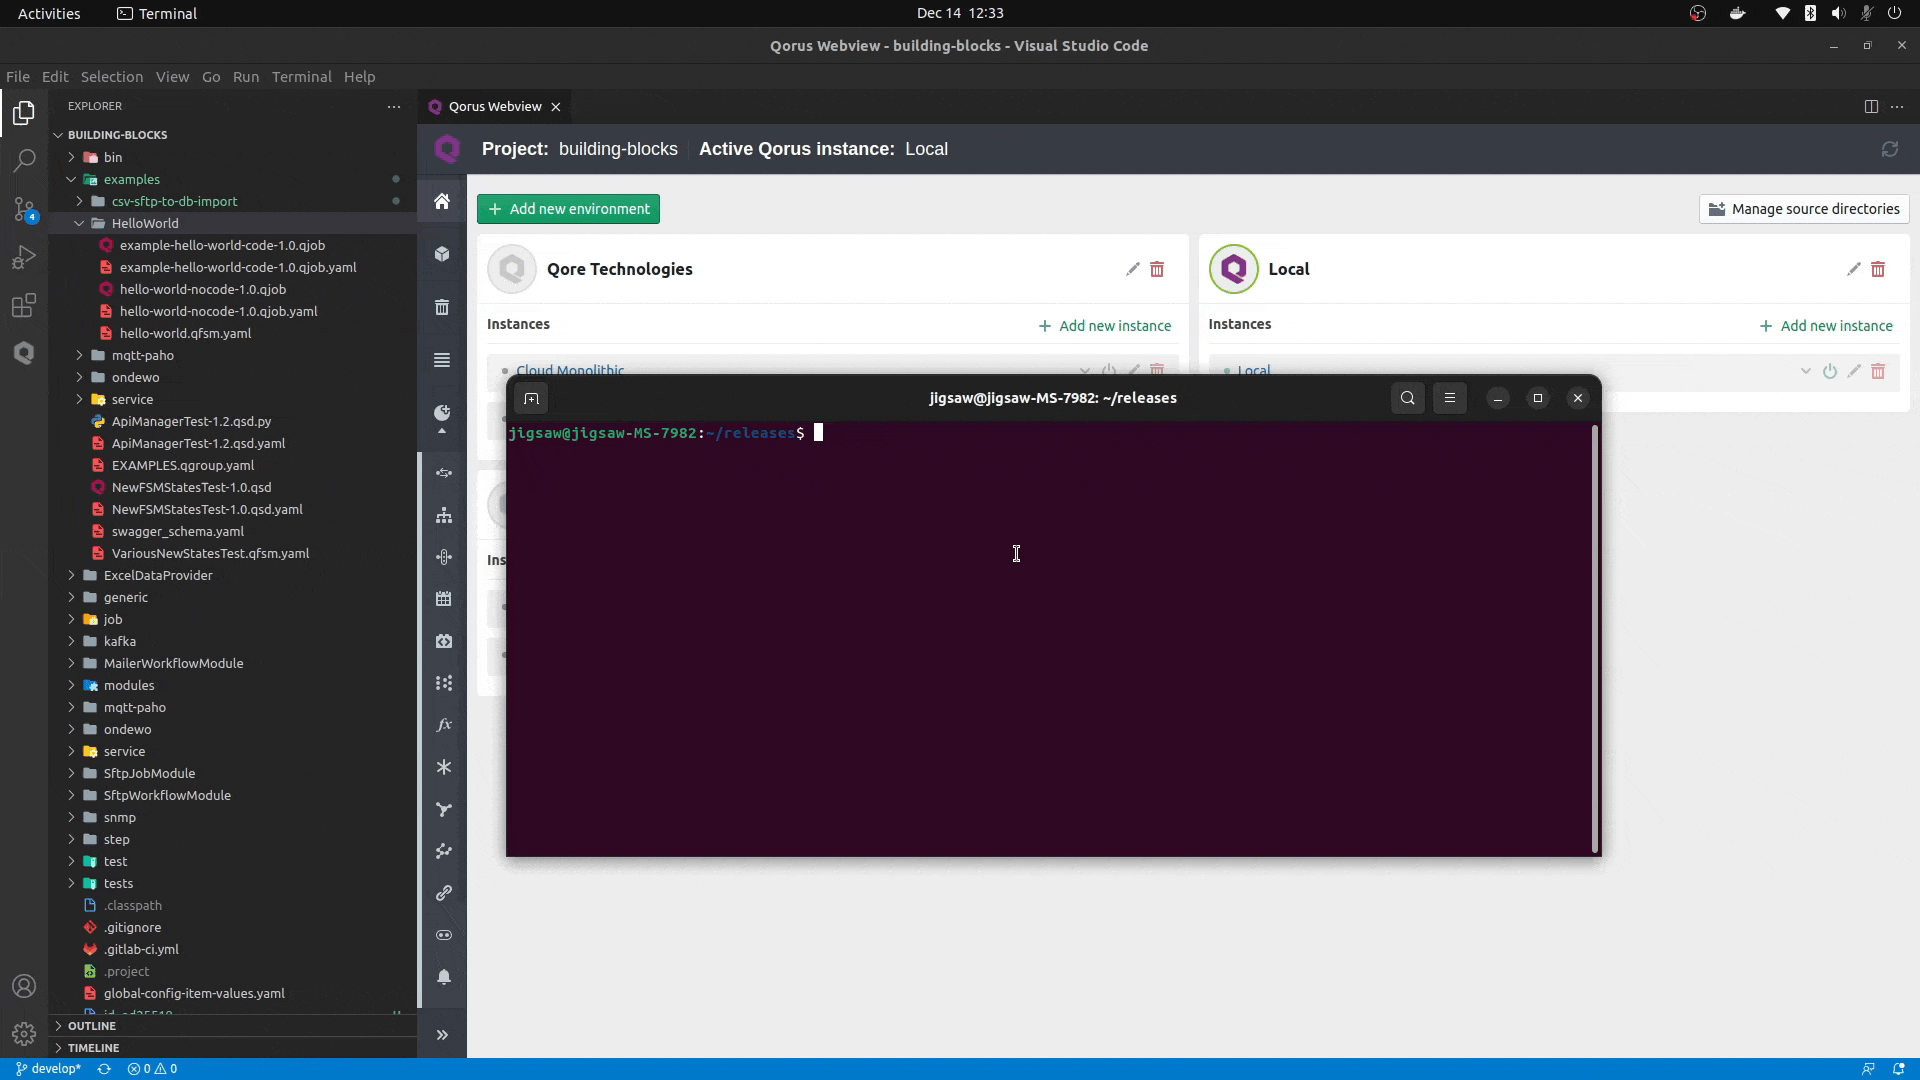
oload -vR [your-release].tar.bz2
Conclusion
In this blog post, you’ve learnt how to create and deploy Qorus releases. You now know how to create and deploy Qorus releases using the IDE, Deploy release files with the Qorus’ web interface and use qorus-remote with make-release and oload to create and deploy releases from the command-line.